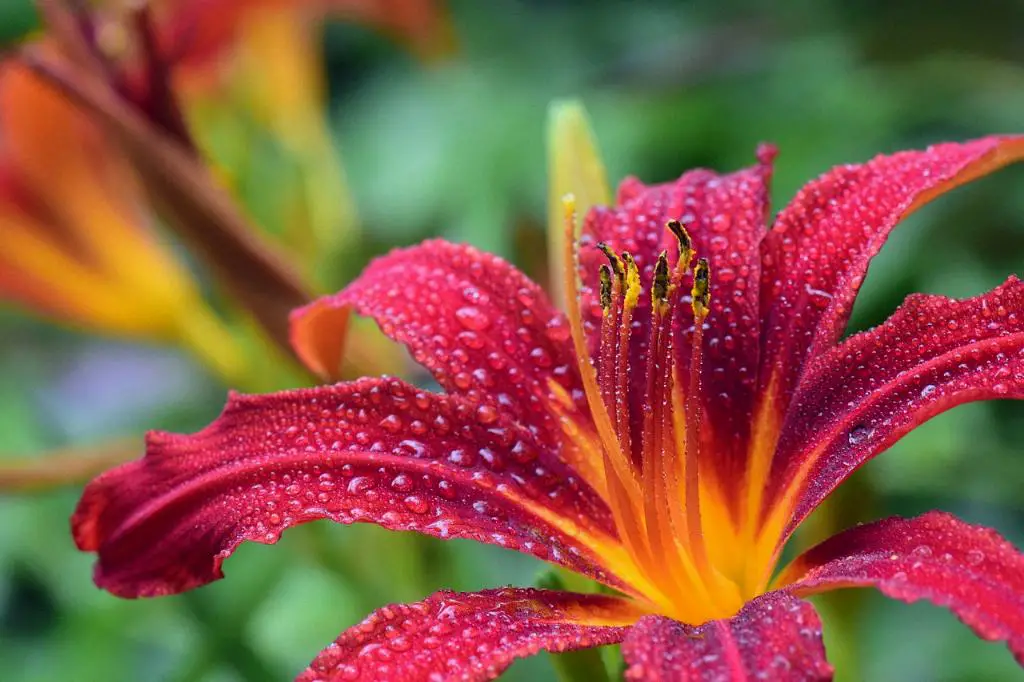
Dividing daylilies is a simple yet rewarding task that can help rejuvenate your garden and increase the number of beautiful blooms. Whether you’re a seasoned gardener or a novice plant enthusiast, learning how to split daylilies can be a fun and fulfilling experience. In this article, we will provide you with step-by-step instructions on how to divide daylilies efficiently and effectively.
Prepare Your Tools and Workspace
Before you begin splitting your daylilies, it’s essential to gather the necessary tools and prepare your workspace. You’ll need a pair of sharp pruning shears to trim off the foliage, a shovel or spade to dig up the root ball, and some gloves to protect your hands from dirt and debris.
Trimming the Foliage
Start by trimming off the tops of the foliage with your pruning shears. This will make it easier to see the root ball and divide the clump of daylilies effectively. Be sure to cut the foliage back to about 6 inches above the ground to give yourself ample space to work.
Digging Up the Root Ball
Next, carefully dig up the root ball under the clump of daylilies using your shovel or spade. Loosen the soil around the roots to make it easier to lift the clump out of the ground without damaging the delicate roots. Take your time and work gently to avoid causing any unnecessary harm.
Dividing the Root Ball
Once you have lifted the clump of daylilies out of the ground, flip it over and examine the root ball. Use your spade to divide the root ball into smaller 6-8 inch clumps. Make sure each division has adequate roots and foliage to support its growth once replanted.
Replanting the Divisions
If the divisions yield a sufficient number of new plants for your liking, you can proceed to replant them in your garden. Dig holes about two feet apart and place each division in its designated spot, ensuring that the roots are covered with soil and the foliage is positioned upright.
Caring for Newly Divided Daylilies
After replanting the divisions, water them thoroughly to help settle the soil and promote root establishment. Keep the newly divided daylilies well-watered in the following weeks to aid in their recovery and encourage healthy growth. Consider applying a balanced fertilizer to give them an extra boost.
Monitoring Growth and Blooming
As your newly divided daylilies start to establish themselves in their new locations, keep an eye on their growth and blooming patterns. With proper care and attention, you should see beautiful blooms emerging from the divisions in the upcoming growing season.
Conclusion
Splitting daylilies is a simple yet effective way to multiply your plant collection and rejuvenate your garden. By following the steps outlined in this guide and providing the necessary care and attention, you can successfully divide your daylilies and enjoy a bountiful display of colorful blooms in your outdoor space.

