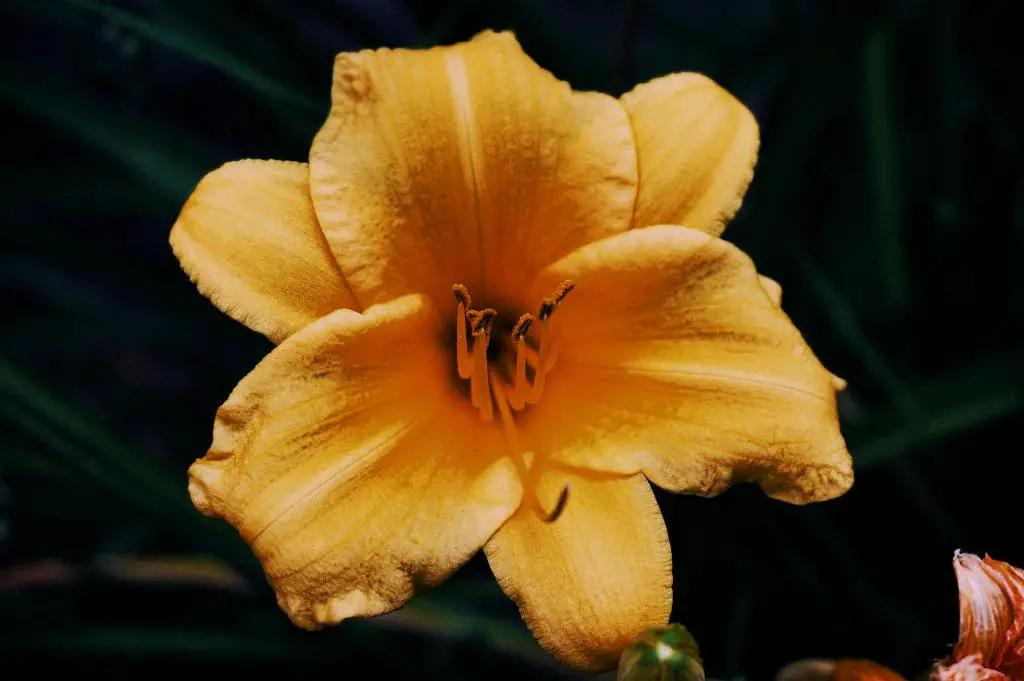
When you’re hunting down the perfect daylily bulbs for your garden, think of it as a quest for the hidden gems of horticulture. These perennials are celebrated for their vibrant colors and hardiness, ensuring they’re a staple in many gardens. To start off, consider the variety—daylilies come in numerous shapes, sizes, and colors. From the palest pastels to the deepest reds, there’s a spectrum to suit every aesthetic. Make sure to choose daylily bulbs based on your climate and the amount of sunlight your garden receives, as some thrive in shade while others bask in full sun. Additionally, check for signs of healthy bulbs—they should feel firm and be free of mold or wounds, as these features promise a robust start for your plants.
The Best Time to Plant Daylily Bulbs
Timing is everything, isn’t it? Especially when it comes to planting daylilies. Typically, the ideal time to plant these bulbs is either in the early spring or during the fall. This timing allows the roots of the daylilies to establish themselves in moderate temperatures, avoiding the stress of frost or the scorching summer sun. Planting in these seasons also benefits from the naturally occurring soil moisture, which helps the bulbs settle in without the need for immediate heavy watering.
Preparing the Soil for Planting Daylilies
Let’s dig a little deeper—both literally and metaphorically. Preparing your soil is crucial before introducing your daylily bulbs to their new home. Daylilies are not overly picky about soil conditions, but they do flourish in slightly acidic to neutral soil. Ensure your garden bed is well-draining as stagnant water can lead to rot. Mix in ample organic matter like compost or well-rotted manure to enrich the soil. This step not only feeds the soil but also improves its structure to support healthy root growth.
Steps to Plant Daylily Bulbs Correctly
Now, roll up your sleeves—it’s planting time. Start by digging a hole about twice as wide as the bulb and a few inches deeper. Work in some compost at the bottom of the hole before placing your daylily bulb with the pointed end up. Backfill with soil, gently pressing down as you go to eliminate any air pockets. Make sure the crown of the plant (where the stem meets the roots) sits about an inch below the soil surface. A good rule of thumb is to space the bulbs about 12 to 18 inches apart to give each plant ample room to mature.
Watering and Fertilizing Your Daylilies for Optimal Growth
Watering wisely plays a pivotal role in the saga of daylily care. Begin by giving your newly planted bulbs a thorough soaking to settle the soil around the roots and help moisture reach deeper. As your daylilies grow, they prefer to be in moist but not soggy soil. An inch of water per week usually suffices, but you might need to adjust depending on climate conditions. When it comes to fertilizing, less is often more with daylilies. A light application of a balanced fertilizer in the early spring as shoots appear can kick start growth, followed by another round just before they bloom.
Common Pests and Diseases Affecting Daylilies
Even the strongest warriors have their weak spots—daylilies face their fair share of pests and diseases. Keep an eye out for aphids, thrips, and red spider mites, which are fond of sucking on the sap and damaging the foliage. Additionally, daylilies can suffer from fungal diseases like rust and leaf streak especially in humid conditions. Implementing an integrated pest management system including regular monitoring, proper watering practices, and cleanliness around your plants can help keep these issues at bay.
Pruning and Maintenance Tips for Daylilies
Pruning daylilies not only tidies up your garden but also encourages healthier blooms. Remove spent flowers and dead leaves regularly to redirect the plant’s energy towards new growth and flower production. After the flowering season, cutting back the foliage can help rejuvenate the plants for the next season. This maintenance not only keeps your daylilies looking neat but also helps prevent disease by improving air circulation around the plants.
How to Divide and Transplant Daylilies
As your daylilies mature, they’ll start to get a bit crowded. That’s your cue to divide and transplant, ideally during late summer to early fall. Carefully lift the clump of daylilies from the soil, and gently tease apart individual plants, making sure each division has several shoots and a portion of the root system. Replant immediately, giving each new section enough room to grow. This not only invigorates the original plant but also multiplies your beautiful blooms for even more vibrant displays in your garden.
Landscape Design Ideas With Daylilies
Daylilies are the showstoppers of garden design, offering flexibility and oodles of color. They blend wonderfully in mixed borders, complementing both annuals and perennials. Plant tall varieties as backdrops and shorter ones at the front to create a layered look. You can also use daylilies to form eye-catching color sweeps along sidewalks or driveways. Their robust nature makes them excellent choices for areas that other plants find challenging, such as slopes or rural garden settings.
Preserving Daylily Bulbs Over the Winter
As the chill sets in, it’s time to think about protecting your daylilies. In colder zones, mulching over the winter can provide an extra layer of insulation for daylily bulbs against harsh temperatures. Apply a generous layer of straw or shredded leaves after the first frost to help keep the soil temperature stable. Remove the mulch in the spring when the threat of frost has passed to prevent overheating and possible rotting.

