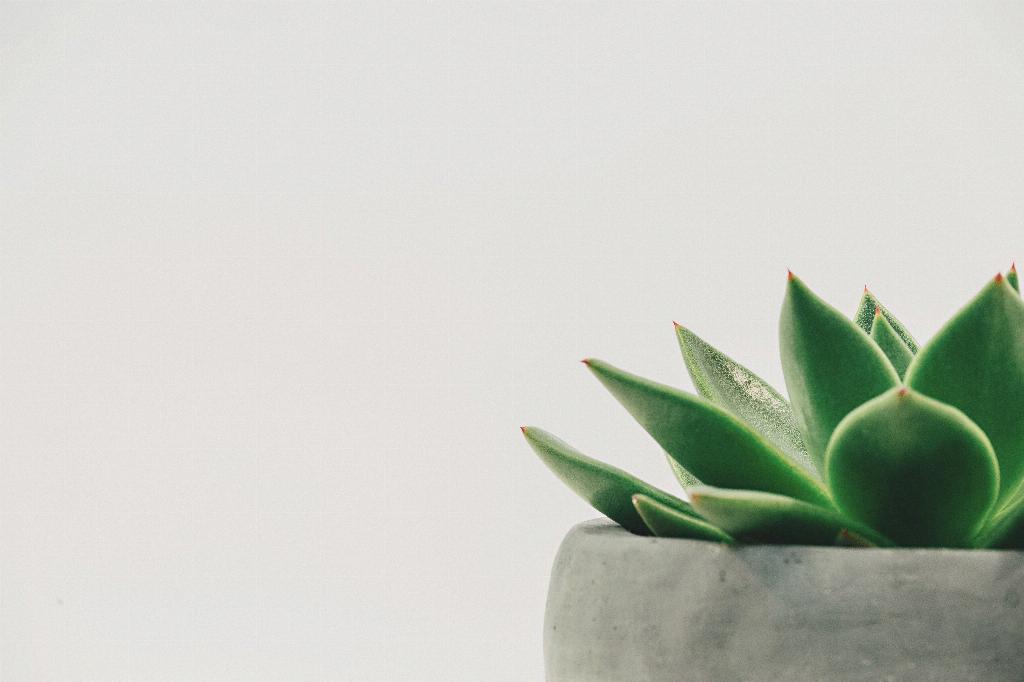
When it comes to repotting your succulent, there are a few key steps to keep in mind to ensure a successful transition for your plant. One important aspect to consider is the size of the new pot. You’ll want to choose a container that is just slightly larger than the current one to allow for some growth but not too big that it overwhelms the succulent’s roots.
Before beginning the repotting process, it’s crucial to gently remove the succulent from its current pot. Carefully loosen the soil around the roots and extract the plant, being mindful not to damage the delicate roots in the process. Once the succulent is out of the pot, take this opportunity to assess the root health and trim any dead or rotten roots to promote new growth.
After removing the succulent from its old pot, it’s essential to clean the roots by gently shaking off the excess soil and inspecting for any signs of pests or disease. If you notice any issues, treat them accordingly before repotting the plant. Additionally, be sure to remove any dead leaves or debris from around the base of the plant to create a clean environment for growth.
Next, prepare the new pot for the succulent by filling it about two-thirds full with fresh, well-draining potting mix specifically formulated for succulents. The type of soil you use is crucial in ensuring proper drainage and preventing root rot. Once the potting mix is in place, create a small hole in the center large enough to accommodate the succulent’s root ball.
Gently place the succulent in the center of the new pot, making sure the roots are spread out evenly and not overly crowded. Once the plant is positioned correctly, carefully fill in the gaps around the roots with additional potting mix, ensuring that the plant is stable and secure in its new home. Cover the roots completely with soil, but leave the leaves exposed above the soil line to prevent rot.
After repotting the succulent, give it a thorough watering to help the roots establish themselves in the new pot. Water the plant until you see excess moisture draining out of the bottom of the pot, indicating that the soil is adequately moistened. It’s important not to overwater the succulent during this initial period to avoid causing stress to the plant.
Place the newly repotted succulent in a location that receives ample sunlight but avoid direct sunlight during the hottest parts of the day, as this can scorch the leaves. Allow the plant some time to adjust to its new environment before reintroducing it to its regular watering schedule and fertilizing routine.
Keep an eye on the succulent in the days and weeks following repotting to ensure it is adjusting well to its new home. Monitor the soil moisture levels and adjust your watering schedule as needed to prevent both under and overwatering. With proper care and attention, your succulent should thrive in its new pot and continue to bring you joy for years to come.

