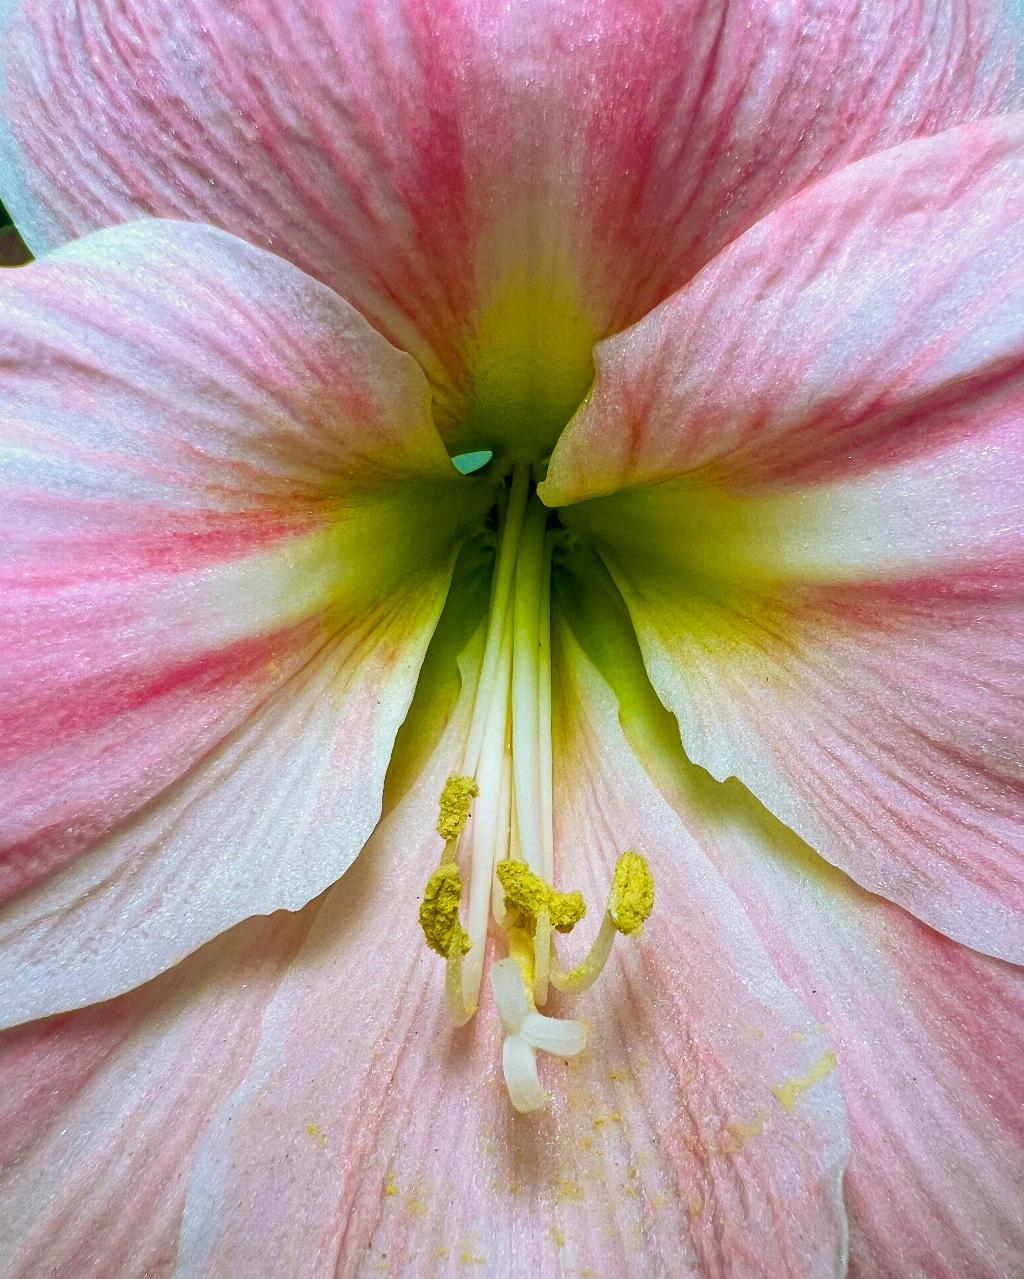
When it comes to removing wax from Amaryllis bulbs, there are a few key things to keep in mind to ensure a successful and safe process. While it may seem daunting at first, with the right tools and techniques, you can easily clean your Amaryllis bulbs without damaging them.
First and foremost, it’s important to remember that leaving some brown covering on the bulb is actually beneficial. This outer layer acts as a protective barrier for the bulb and helps prevent any damage during the wax removal process.
Now, let’s talk about the actual removal process. One important tip to remember is that it doesn’t matter which end of the bulb you start removing the wax from. Whether you begin at the base or the top, the key is to proceed with caution and precision.
If you decide to start at the base, a sharp knife can be your best friend. Carefully cut a “v” shape into the edge of the wax, then proceed to gently pick off the wax layer. This method allows you to maintain control and avoid damaging the bulb underneath.
As you work your way around the bulb, remember to take your time and be gentle. Amaryllis bulbs are delicate structures, and rushing through the process can result in unintended harm. Slow and steady wins the race when it comes to wax removal.
Another key consideration is the age of the Amaryllis bulb. If you are dealing with a bulb at the end of its first summer, extra care is needed during the wax removal process. Younger bulbs are more fragile and require a lighter touch to avoid any mishaps.
It’s also worth noting that utilizing tools like a soft brush or cloth can help in the wax removal process. Gently wiping away the wax with a cloth can be an effective way to clean the bulb without causing any damage. Remember, patience is key.
For stubborn wax residue, you can also consider using a mild soap solution to help break down the wax. Mix a small amount of soap with water, then apply the solution to the waxed areas of the bulb. Let it sit for a few minutes before gently wiping it away.
Once you have successfully removed the wax, take a moment to inspect the bulb for any remaining residue. A magnifying glass can be a handy tool to ensure that the bulb is completely clean and free of any lingering wax.
Finally, after the wax removal process is complete, consider storing the Amaryllis bulb in a cool, dry place to prevent any potential damage. Proper care and maintenance post-wax removal can help prolong the lifespan of your bulb and ensure healthy growth.
In conclusion, removing wax from Amaryllis bulbs may seem daunting, but with the right approach and tools, it can be a straightforward process. Remember to proceed with caution, take your time, and prioritize the safety and well-being of the bulb throughout the removal process.

