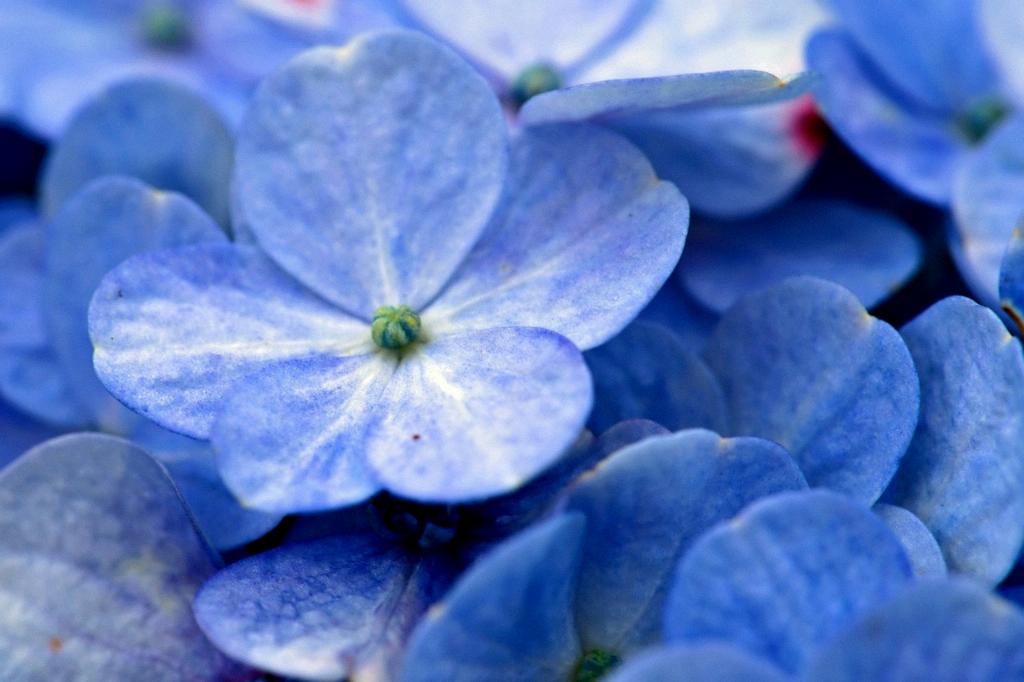
If you’ve ever been captivated by the beauty of hydrangeas and want to expand your collection without breaking the bank, propagating these stunning flowers is a cost-effective and rewarding option. Propagating a hydrangea through cuttings is a popular method that allows you to replicate your favorite plant with ease.
One crucial fact to keep in mind before embarking on the propagation journey is that hydrangea cuttings do not root well in water, unlike many other plants. To successfully propagate a hydrangea, you’ll need to plant the cutting in a cutting-friendly, well-draining mix specially designed for seed starting purposes.
When selecting the soil mix for your hydrangea cutting, opt for a blend that includes components like coir, sand, or peat moss. These materials provide the ideal conditions for root development and support the cutting as it establishes itself in its new environment.
To commence the propagation process, carefully prepare a hydrangea cutting by ensuring it has at least one leaf set intact. The cutting should be approximately six inches long, with the bottom end freshly trimmed to expose a clean and healthy stem ready for rooting.
Once your hydrangea cutting is prepped and ready to go, plant it into the soil mix, ensuring that it is positioned right up to the edge of the bottom set of leaves. This proximity encourages root growth from the stem and gives the cutting the best opportunity to establish a strong root system.
After planting the hydrangea cutting, water it thoroughly to provide the moisture necessary for root development. Place the cutting in a warm, bright location with indirect sunlight to promote healthy growth and encourage the rooting process.
Regularly monitor the moisture levels of the soil to ensure it remains consistently damp but not waterlogged. Overwatering can lead to rot, while underwatering may hinder root development. Finding the right balance is key to successful propagation.
As your hydrangea cutting begins to grow and develop roots, you may notice new leaves emerging from the stem. This is a positive sign that the cutting is adapting well to its new environment and that root development is progressing as expected.
After several weeks, gently tug on the base of the cutting to check for resistance, indicating that roots have formed. Once a healthy root system has established itself, your propagated hydrangea is ready for transplanting into a larger container or directly into the garden.
Transplant your well-rooted hydrangea cutting into a suitable growing location with well-draining soil and partial shade. Providing adequate sunlight, water, and nutrients will help your newly propagated hydrangea thrive and grow into a beautiful, flourishing plant.
By following these steps and being patient throughout the propagation process, you can successfully propagate a hydrangea and enjoy the satisfaction of nurturing a new plant from a simple cutting. Experimenting with propagation allows you to expand your garden while honing your gardening skills and deepening your connection to the natural world.

