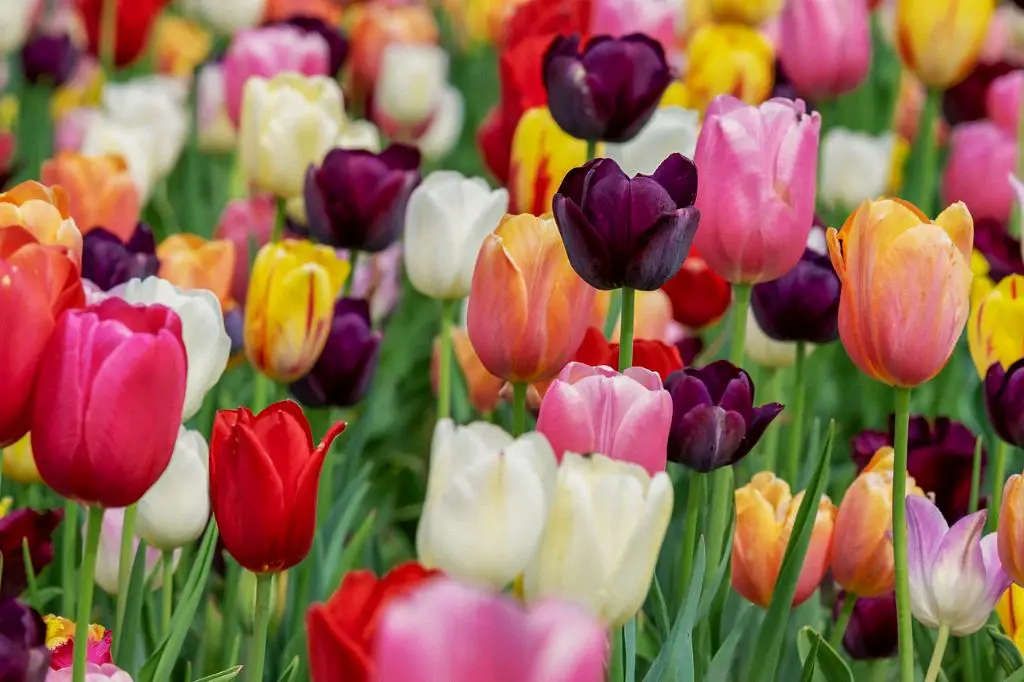
So, your tulips have finished blooming, and now you’re wondering what to do next. Don’t worry, I’ve got you covered! In this guide, I’ll walk you through the process of planting tulip bulbs after they bloom, ensuring that your garden continues to be a colorful and vibrant space.
1. Allow the Foliage to Wither Naturally
After the tulips finish blooming, allow the foliage to wither and die back naturally. This process lets the bulb gather energy for next year’s growth. Avoid cutting the foliage prematurely.
2. Cut the Foliage Once It Turns Yellow
Once the foliage turns yellow and begins to wither, it’s time to trim it back. Use clean, sharp scissors to cut the foliage down to about 2 inches above the bulb. This helps the bulb conserve energy and directs its focus towards growth.
3. Leave the Roots Intact
While it’s important to remove the withered foliage, be sure to leave the roots undisturbed. The roots are essential for the bulb to absorb nutrients and moisture from the soil.
4. Store the Bulbs in a Cool, Dry Place
Once you’ve cut back the foliage, carefully dig up the bulbs and store them in a cool, dry place until early November. Choose a well-ventilated area away from direct sunlight.
5. Prepare the Planting Site
Before planting the tulip bulbs, prepare the planting site in your garden. Choose a location that receives full sun or partial shade and has well-draining soil.
6. Dig Holes at the Right Depth
When it’s time to plant the bulbs in November, dig holes at a depth that is two to three times the height of the bulb. This ensures that the bulbs have enough room to establish roots and grow.
7. Add Compost to the Soil
Mix some compost or organic matter into the soil before planting the tulip bulbs. This enriches the soil, providing essential nutrients for the bulbs to thrive.
8. Plant the Bulbs Pointy Side Up
Place the tulip bulbs in the prepared holes with the pointed end facing upwards. This orientation helps the bulbs sprout correctly and ensures that the flowers grow in the right direction.
9. Space the Bulbs Appropriately
Space the tulip bulbs a few inches apart to allow room for growth and prevent overcrowding. This spacing also creates a more aesthetically pleasing display when the flowers bloom.
10. Water the Newly Planted Bulbs
After planting the bulbs, water the area thoroughly to help settle the soil and initiate the growth process. Be sure to water regularly, especially during dry spells, to keep the soil moist but not waterlogged.
11. Maintain Regular Care
Throughout the growing season, provide ongoing care to your tulip bulbs. Remove any weeds, ensure the soil is well-drained, and consider adding a layer of mulch to help retain moisture and suppress weed growth.

12. Enjoy the Blooms Next Spring
With proper care and attention, your newly planted tulip bulbs will reward you with colorful blooms next spring. Sit back, relax, and enjoy the beauty and fragrance of your garden as the tulips come into full bloom.
