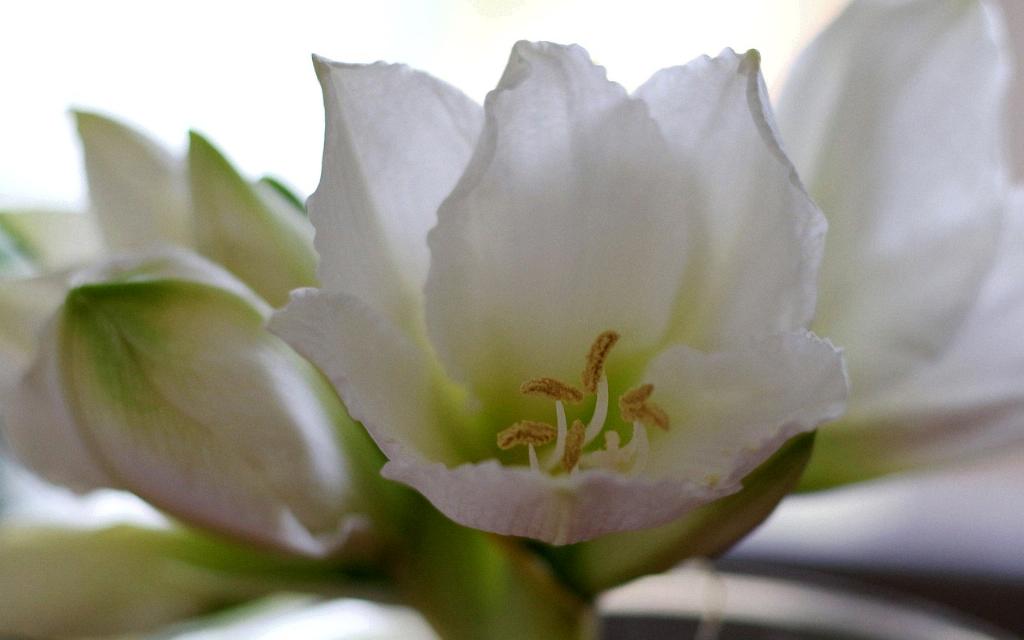
Planting an amaryllis bulb is a rewarding experience that can bring beauty and joy to your home or garden. Whether you’re a seasoned gardener or a beginner, these stunning flowers are relatively easy to grow and require minimal maintenance. In this guide, we’ll walk you through the steps of planting an amaryllis bulb to ensure successful growth and vibrant blooms.
Choosing the Right Location
Before you start planting your amaryllis bulb, it’s crucial to choose the right location. Amaryllis bulbs thrive in bright, indirect light, so select a spot that receives plenty of sunlight throughout the day. Avoid placing the bulb in direct sunlight, as this can cause the leaves to burn. Additionally, ensure that the planting area has well-draining soil to prevent waterlogged conditions that can lead to root rot.
Preparing the Soil
Once you’ve selected the perfect location, it’s time to prepare the soil for planting. Amaryllis bulbs prefer loose, well-aerated soil that allows for proper drainage. Before planting, amend the soil with organic matter such as compost or peat moss to improve its texture and fertility. This will provide the bulb with essential nutrients and promote healthy growth.
Planting Depth
When planting an amaryllis bulb, the depth at which you bury it plays a crucial role in its development. In frost-free areas, position the bulb with the neck at ground level or slightly above it. Alternatively, in regions where frost is a concern, plant the bulb with 5-6 inches of soil above it. Following this, apply a layer of fine mulch about 4-5 inches thick to protect the bulb and promote moisture retention.
Watering Routine
Proper watering is essential for the successful growth of an amaryllis bulb. After planting, water the area thoroughly to settle the soil and initiate root development. Going forward, maintain a regular watering routine, ensuring that the soil remains moist but not waterlogged. During the blooming period, increase watering frequency to support the growth of flowers and foliage.
Fertilizing Schedule
In addition to regular watering, it’s beneficial to fertilize your amaryllis bulb to provide it with essential nutrients for robust growth. During the growing season, apply a balanced fertilizer every 6-8 weeks to promote flowering and maintain plant health. Be cautious not to over-fertilize, as this can lead to excessive foliage growth at the expense of flower production.
Supporting Growth
To support the vertical growth of your amaryllis bulb, consider using stakes or support structures to prevent bending or toppling over. As the plant grows, gently secure the stem to the stake using soft ties to prevent damage. This will ensure that your amaryllis maintains an upright posture and showcases its blooms beautifully.
Pruning and Deadheading
Throughout the blooming period, it’s essential to remove spent flowers through deadheading to promote continuous flowering and prevent the formation of seeds. Additionally, trim any yellowing or damaged leaves to maintain the plant’s aesthetic appeal and prevent the spread of diseases. Regular pruning and deadheading will encourage new growth and prolong the blooming season.
Overwintering and Storage
Once the blooming period is over, you may wonder how to care for your amaryllis bulb during the dormant season. To prepare for overwintering, gradually reduce watering and allow the foliage to wither and die back naturally. In late fall, cease watering altogether and store the bulb in a cool, dark location until the next growing season. During this period, refrain from fertilizing and only resume watering when new growth appears.
Pest and Disease Management
While amaryllis bulbs are relatively pest-resistant, they may occasionally fall victim to common garden pests such as aphids or spider mites. To prevent infestations, inspect your plants regularly and address any pest issues promptly using natural remedies or insecticidal soap. Additionally, be vigilant for signs of fungal diseases such as botrytis or powdery mildew, which can be managed through proper ventilation and avoiding overhead watering.
Propagation Techniques
If you’re interested in expanding your amaryllis collection or sharing bulbs with friends, consider propagation techniques such as division or offset planting. To divide an established bulb, carefully separate the offsets or “pups” from the parent bulb and plant them in individual containers or garden beds. With proper care and attention, these new bulbs will mature into flowering plants over time, enriching your garden with their colorful blooms.

Enjoying the Fruits of Your Labor
After diligently caring for your amaryllis bulb and witnessing its growth from planting to blooming, take a moment to appreciate the beauty and elegance of these magnificent flowers. Whether displayed as a centerpiece in your home or showcased in your garden, amaryllis bulbs make a stunning addition to any space and bring a touch of natural splendor to your surroundings. Embrace the process of planting and nurturing these exquisite flowers, and relish in the joy they bring year after year.
