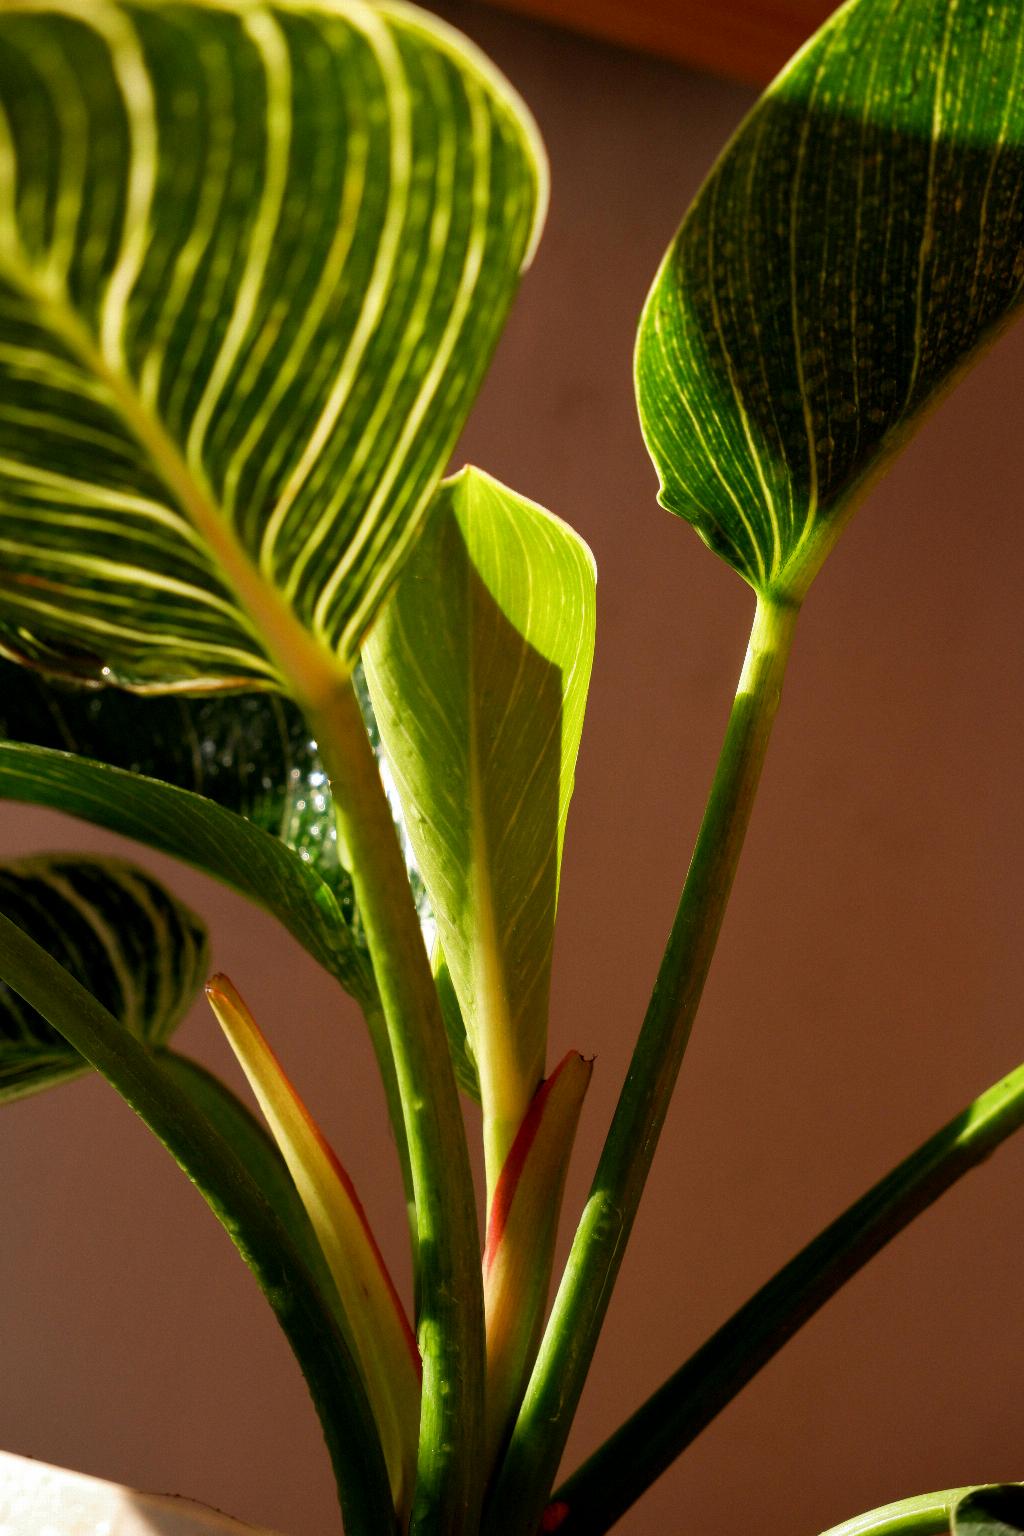
When it comes to overwintering your beloved Canna lilies in pots, the process can be quite simple and straightforward. By following a few key steps, you can ensure that your Canna lilies make it through the winter season and thrive come springtime.
1. Choose the Right Timing
As the cooler months approach, it’s essential to start thinking about overwintering your Canna lilies. Ideally, you will want to bring your potted Canna lilies indoors before the first frost hits to protect them from the harsh weather conditions.
2. Prepare for Overwintering
Prior to moving your Canna lilies indoors, it’s essential to prepare them for the overwintering process. Start by cutting back any dead foliage and removing any pests or diseased leaves to promote healthy growth during the dormant period.
3. Bring Them Indoors
Once your Canna lilies are pruned and cleaned, it’s time to bring them indoors. Find a cool, dry area in your home where the temperature remains above freezing but below 50°F (10°C). This will provide the ideal conditions for your Canna lilies to rest during the winter.
4. Monitor Light Exposure
While overwintering your Canna lilies indoors, it’s crucial to monitor their light exposure. Place them near a bright window where they can receive indirect sunlight for a few hours each day. Adequate light will help maintain their energy reserves and prepare them for the upcoming growing season.
5. Water Sparingly
During the winter months, Canna lilies do not require as much water as they do during the growing season. Water your potted Canna lilies sparingly, allowing the soil to dry out slightly between waterings to prevent root rot and fungal diseases.
6. Inspect for Pests
Regularly inspect your overwintering Canna lilies for any signs of pests or diseases. Look for common culprits such as spider mites, aphids, and mealybugs, and take appropriate measures to eliminate them to keep your plants healthy.
7. Consider Repotting in Spring
As the winter season comes to an end and spring approaches, consider repotting your Canna lilies in fresh, well-draining soil. This will provide them with the nutrients they need to thrive and produce vibrant blooms throughout the growing season.
8. Gradual Transition Outdoors
When the threat of frost has passed, you can begin transitioning your Canna lilies back outdoors. Start by gradually exposing them to outdoor conditions, such as increased sunlight and warmer temperatures, to acclimate them to their natural environment.
9. Feed and Fertilize
Once your Canna lilies are back outdoors and actively growing, consider feeding them with a balanced fertilizer to promote healthy foliage and abundant blooms. Be sure to follow the recommended feeding schedule for optimal growth and flowering.
10. Maintain Proper Care
Throughout the growing season, continue to provide your Canna lilies with proper care, including regular watering, fertilizing, and pest control. By maintaining a consistent care routine, you can enjoy beautiful blooms and lush foliage year after year.
11. Enjoy the Blooms
As your Canna lilies begin to bloom in all their glory, take the time to admire their beauty and appreciate the hard work you put into overwintering them. Whether planted in pots or in the ground, Canna lilies never fail to impress with their vibrant colors and tropical charm.

12. Repeat the Process
As the cycle of seasons continues, remember to repeat the process of overwintering your Canna lilies in pots each year to ensure their longevity and continued blooming success. With proper care and attention, your Canna lilies will reward you with stunning displays year after year.
