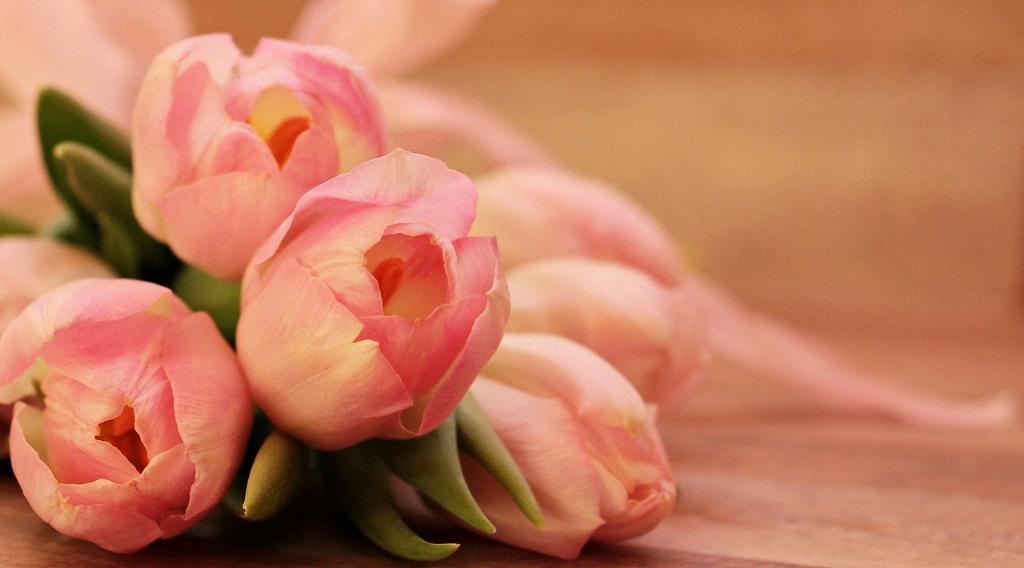
When it comes to propagating tulips, harvesting seeds is a rewarding way to expand your garden. Once the beautiful flower of a tulip plant has withered away, you can collect the seeds from the pod to cultivate new blooms in the following season.
Step 1: Identify the Right Time
After the tulip has finished blooming, the seed pod will start to form at the base of the flower. Observe the pod closely as it matures over time. The pod will eventually dry out, turn brown, and begin to split open, indicating that the seeds are ready for harvesting.
Step 2: Prepare Your Tools
Before you begin the harvesting process, make sure you have all the necessary tools on hand. You will need a pair of sharp scissors or pruning shears, small containers to collect the seeds, and labels to keep track of the different tulip varieties.
Step 3: Harvesting the Seeds
Gently cut the seed pod from the tulip plant using your scissors or pruning shears. Be careful not to damage the seeds inside the pod. Place the harvested pods in the containers, making sure to separate them based on their varieties if you are collecting seeds from different tulip plants.
Step 4: Cleaning the Seeds
Once you have collected the seed pods, it is time to clean the seeds. Remove any remaining debris from the pods and separate the seeds from the chaff. You can do this by gently rubbing the seeds between your fingers or using a fine sieve to sift them out.
Step 5: Drying the Seeds
After cleaning the seeds, spread them out on a paper towel or a tray in a well-ventilated area. Allow the seeds to dry completely for a few days. Make sure they are not exposed to direct sunlight or moisture during this process.
Step 6: Storing the Seeds
Once the tulip seeds are fully dried, transfer them to airtight containers or small envelopes. Label each container with the date of harvesting and the tulip variety to maintain organization. Store the containers in a cool, dark place until you are ready to plant the seeds.
Step 7: Preparing for Planting
When the fall season arrives, you can start preparing to plant the tulip seeds. Choose a well-draining location in your garden with fertile soil that receives ample sunlight. Make sure to loosen the soil and remove any weeds before planting.
Step 8: Planting the Seeds
Plant the tulip seeds in rows or clusters, depending on your preference. Make small indentations in the soil and place the seeds about an inch apart. Cover the seeds with a thin layer of soil and water gently to ensure proper moisture.
Step 9: Caring for the Seedlings
As the tulip seedlings begin to sprout, it is essential to provide them with adequate care. Keep the soil consistently moist but not waterlogged and protect the young plants from extreme weather conditions or pests that may damage them.
Step 10: Monitoring Growth
Monitor the growth of the tulip seedlings regularly to ensure they are developing well. As the plants grow, you can provide them with occasional fertilization to promote healthy growth and vibrant blooms in the future.
Step 11: Enjoying the Blooms
With proper care and attention, your tulip seedlings will eventually mature into beautiful flowers. Witnessing the colorful blooms emerge from the seeds you harvested is a gratifying experience that showcases the cycle of growth and renewal in your garden.
Step 12: Sharing Your Success
Once your tulip blooms grace your garden, consider sharing the beauty with family and friends. You can also save some seeds from the newly grown flowers to continue the cycle of tulip propagation and create a flourishing garden filled with diverse varieties.

