When it comes to planting an amaryllis bulb, the process is relatively simple. Begin by selecting a good quality potting soil that is well-draining to ensure the bulb does not sit in water and rot. Choose a pot that is about an inch wider in diameter than the bulb itself, to allow for proper root growth.
Positioning and Watering
Place the bulb in the center of the pot and fill in around it with the potting soil, leaving the top third of the bulb exposed above the soil line. Water the bulb thoroughly after planting, and then allow the soil to dry slightly between waterings. It is important to water consistently, but not excessively, to prevent root rot.
Providing Adequate Light
Amaryllis bulbs thrive in bright, indirect light. Place your potted bulb in a location where it will receive plenty of sunlight, but avoid direct sunlight as this can scorch the leaves. A southern or western exposure is ideal for ensuring your plant receives the right amount of light.
Using a Support Stake
As the amaryllis plant begins to grow and bloom, you may find that the weight of the blooms causes the stem to bend or lean. To support the plant and keep the blooms upright, use a support stake. Gently tie the stem to the stake using a soft material, being careful not to damage the stem or flowers.
Blooming Process
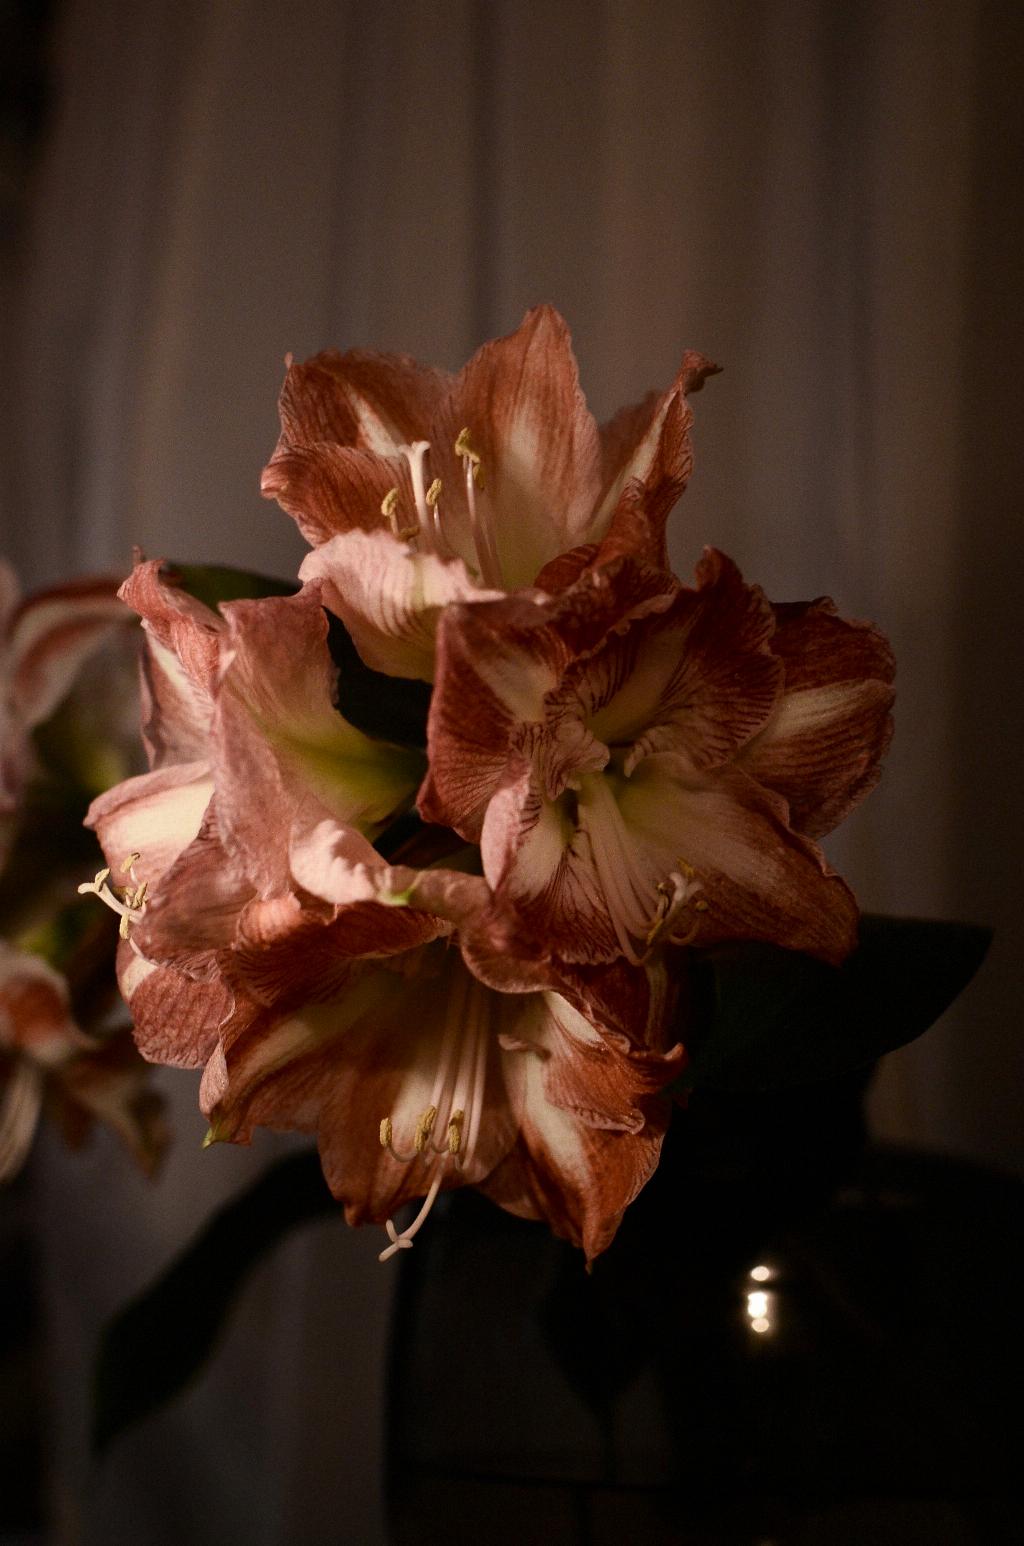
Most varieties of amaryllis will start blooming six to eight weeks after planting, with some taking up to ten weeks. Once the plant begins to bloom, you can expect to enjoy the vibrant and stunning flowers for several weeks. Regular watering and adequate light will help prolong the bloom time.
Post-Blooming Care
After the blooms have faded, it is essential to continue caring for your amaryllis plant. Remove the spent flowers by gently twisting them off the stem to prevent seed production, which can deplete the bulb’s energy. Continue to water and provide light as usual to support leaf growth.
Preparing for Dormancy
As summer approaches, your amaryllis plant will begin to enter a period of dormancy. Reduce watering gradually as the foliage begins to yellow and die back. Once the leaves have withered completely, trim them off at the base to prepare the bulb for dormancy.
Storing the Bulb
Once the leaves have been removed, carefully lift the bulb from the pot and gently brush off any excess soil. Store the bulb in a cool, dark place for a few months to allow it to rest and rejuvenate. Check the bulb periodically to ensure it remains firm and healthy.
Replanting for Next Season
As fall approaches, it’s time to replant your amaryllis bulb for the next blooming season. Choose a slightly larger pot and fresh potting soil to replant the bulb, following the same steps as before. Water the bulb thoroughly after planting and place it in a sunny location to encourage growth.
Enjoying Repeat Blooms
With proper care and attention, your amaryllis plant will reward you with beautiful blooms year after year. By following the steps outlined above and providing the right conditions for your plant, you can enjoy the stunning flowers and vibrant colors of the amaryllis for seasons to come.

Conclusion
In conclusion, growing and caring for an amaryllis bulb is a rewarding experience that requires minimal effort for maximum enjoyment. By following these simple steps and providing the right care and conditions, you can enjoy the beauty and elegance of this popular flowering plant in your home or garden.
