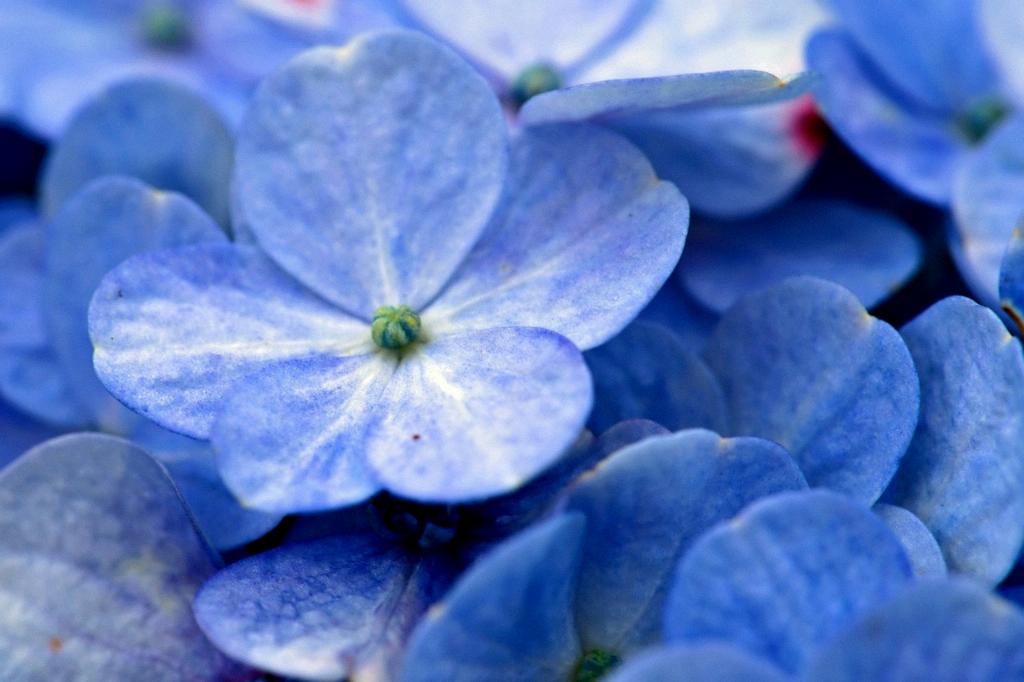
One of the most rewarding ways to propagate hydrangeas is by taking cuttings from an existing plant. This method allows you to create new hydrangea plants that are genetically identical to the parent plant. If you’ve been wondering how to take a cutting from a hydrangea, you’re in the right place!
First and foremost, it’s crucial to choose a healthy, well-established hydrangea plant from which to take your cutting. Look for a plant that is free from pests and diseases, and has strong, vibrant growth. Select a branch that is relatively young and healthy, as older wood may be more challenging to root.
When taking a cutting from a hydrangea, it’s essential to make a clean cut right above a node. Nodes are the points on the stem where leaves are attached, and they are crucial for root development. Cut the stem at a 45-degree angle, ensuring a clean surface for optimal rooting.
After making your cut, remove all but one set of leaves at the top of the cutting. This helps reduce moisture loss and allows the cutting to focus its energy on root development. The remaining set of leaves will help the cutting photosynthesize until it can establish its own root system.
Once you’ve prepared your cutting, it’s time to place it in a rooting medium. Many gardeners opt to start their hydrangea cuttings in a shallow container filled with warm water. This will keep the cutting hydrated while you work on preparing the rooting medium.
For optimal success, use a well-draining rooting medium such as perlite or vermiculite. Make a hole in the medium using a pencil or similar tool, then gently insert the cutting into the hole. Ensure that at least one node is buried in the medium, as this is where roots will begin to develop.
After planting the cutting, place the container in a warm, bright location that receives indirect sunlight. Keep the rooting medium consistently moist but not waterlogged, as excess water can lead to rot. A humidity dome or plastic bag can help maintain high humidity around the cutting.
Check on your cutting regularly to ensure that the rooting medium remains moist and observe any signs of root development. With time and patience, you should start to see new roots emerging from the nodes on the cutting. This is a promising sign that your cutting is establishing itself.
Once your cutting has developed a healthy root system, it will be ready to be transplanted into a larger container or directly into the garden. Handle the young plant with care, ensuring that you disturb the roots as little as possible during the transplanting process.
As your new hydrangea plant grows and matures, you’ll be able to enjoy the beauty of its blooms and foliage. Keep in mind that young plants may require extra care and attention as they establish themselves in their new environment, so monitor their growth closely.
In conclusion, taking a cutting from a hydrangea is a rewarding way to expand your garden and create new plants from existing ones. By following the proper techniques and providing the necessary care, you can increase your hydrangea collection and enjoy these stunning plants for years to come.

