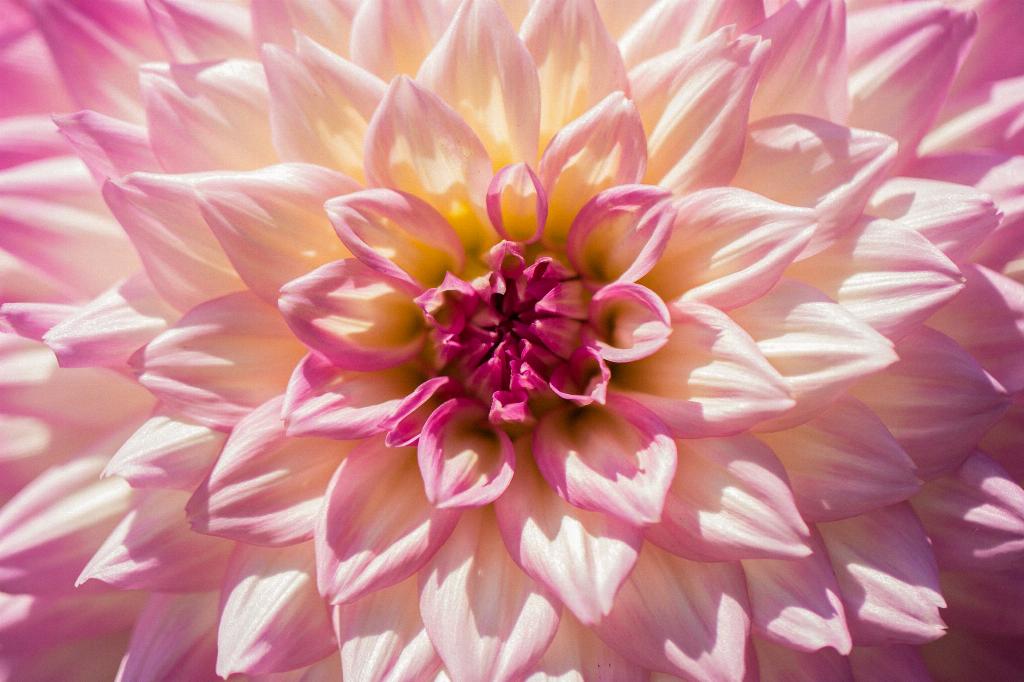
When it comes to storing dahlia tubers for the winter, proper care and attention to detail are key. The process may seem daunting at first, but with the right steps, you can ensure that your dahlia tubers remain healthy and ready for the next growing season.
Step 1: Digging Up the Tubers
The first step in storing dahlia tubers is to dig them up carefully after the first frost hits. Use a garden fork to gently lift the tubers from the ground, being careful not to damage them in the process. Shake off any excess soil, but do not wash the tubers as this can introduce moisture which can lead to rot.
Step 2: Drying the Tubers
Once you have dug up the tubers, it is crucial to allow them to air dry for a few days. Find a well-ventilated, dry area to lay the tubers out in a single layer. This will help them cure and toughen up, reducing the risk of rot during storage.
Step 3: Removing Excess Soil
After the tubers have dried, gently brush off any remaining soil with your hands. Be careful not to remove any skin or damage the tubers. This step helps prevent the spread of any potential diseases that may be present in the soil.
Step 4: Trimming the Stems
Before storing your dahlia tubers, trim the stems back to about an inch above the tuber. This will help prevent moisture loss and reduce the risk of mold or fungal growth during storage.
Step 5: Choosing the Right Storage Container
When it comes to storing dahlia tubers, the container you choose is crucial. Opt for a container that provides good air circulation and ventilation. Milk crates, plastic bins, paper bags, or cardboard boxes are all suitable options.
Step 6: Layering the Tubers
When placing the tubers in the storage container, make sure to layer them with a material like vermiculite, peat moss, or dry sawdust. This will help absorb any excess moisture and provide insulation to protect the tubers from harsh temperature fluctuations.
Step 7: Labeling the Tubers
Before sealing the container, be sure to label each variety of dahlia tuber you are storing. This will help you easily identify them in the spring when it’s time to plant them again.
Step 8: Choosing the Right Storage Location
Find a cool, dark, and dry location to store your dahlia tubers for the winter. A basement, garage, or root cellar are all suitable options. Avoid areas that are prone to temperature fluctuations or high humidity.
Step 9: Checking on the Tubers Periodically
Throughout the winter months, it is a good idea to check on your stored dahlia tubers periodically. Look for any signs of mold, rot, or sprouting, and remove any affected tubers immediately to prevent the spread of disease.
Step 10: Providing Ventilation
Ensure that the storage container has adequate ventilation to prevent the buildup of excess moisture. You can drill small holes in the container if needed to promote airflow.
Step 11: Replanting in the Spring
When spring arrives and the risk of frost has passed, it’s time to replant your dahlia tubers. Prepare the soil, plant the tubers at the appropriate depth, and provide regular watering and sunlight to help them thrive.
Step 12: Enjoying Your Beautiful Blooms
By following these steps for storing dahlia tubers, you can ensure that they remain healthy and vibrant for the next growing season. With proper care and attention, you’ll be rewarded with a stunning display of colorful blooms in your garden.

