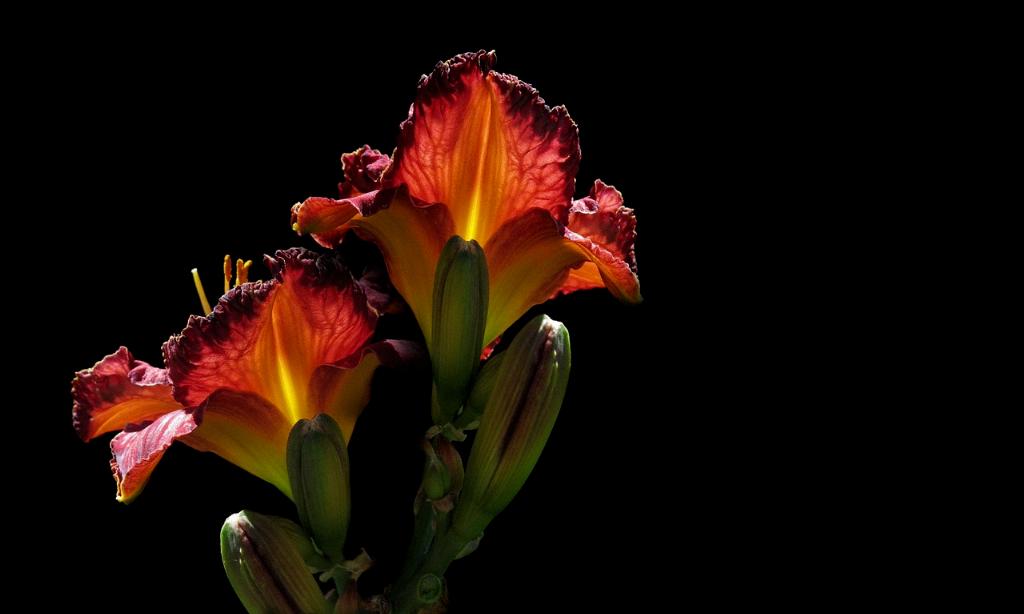
Let’s dive straight into getting those daylilies of yours bursting with color by picking the perfect spot in your garden. You might think these beauties are not too picky, but they do shout out for just the right amount of sunshine and well-draining soil to truly thrive. Ideally, daylilies relish locations that receive at least six hours of direct sunlight daily. Such exposure ensures their blooms are abundant and vibrant. As for the soil, aim for something well-aerated and slightly acidic to neutral in pH. If you’re dealing with heavy clay or overly sandy conditions, consider amending it with compost or peat moss to improve texture and nutrient content. Remember, the right start is half the battle!
The Ultimate Watering Guide for Thriving Daylilies
Watering might seem straightforward, but there’s an art to it when it comes to keeping daylilies at their best. During their peak growing season, which typically runs from spring to early fall, these perennials need a consistent moisture level to prevent the soil from completely drying out. Aim for about an inch of water per week, whether from rainfall or manual watering. However, avoid the temptation to overwater, as daylilies despise “wet feet,” which can lead to root rot. A good soaking once a week should suffice, encouraging deeper root growth and stronger plants.
Essential Fertilization Tips for Lush and Healthy Daylilies
Fertilizing daylilies isn’t about just throwing some feed around and hoping for the best. They flourish on a diet that’s rich but not overwhelming. During the early spring, spreading a slow-release balanced fertilizer around the base of your plants can kick-start their growth with the nutrients they crave. If you’re into organic methods, well-rotted manure or compost is a great choice, providing a gentle feed over a longer period. Keep in mind, over-fertilization can lead to lush foliage at the expense of blooms, so moderation is key here!
Managing Pests and Diseases: Keeping Your Daylilies Flourishing
While daylilies are considered quite resilient, they’re not immune to pests and diseases. Aphids, thrips, and spider mites can be a nuisance, often controlled easily with insecticidal soap or neem oil treatments applied early and regularly. Diseases such as rust or leaf streak can also mar the beauty of your daylilies. Keeping the area around them clean and free of debris helps minimize these threats. Also, ensure good airflow by not overcrowding the plants, which helps keep the fungal issues at bay.
The Right Way to Mulch and Enhance Daylily Growth
Mulching is more than just making your garden look neat; it’s about creating the best environment for your daylilies to grow. Applying a layer of organic mulch like shredded bark or straw not only helps retain soil moisture and control weeds, but it also breaks down over time to enrich the soil. Just be sure to leave some breathing room around the base of your plants to prevent moisture buildup and potential rot.
Seasonal Daylily Care: Spring, Summer, and Fall Essentials
Each season calls for a specific approach when you’re caring for daylilies. Spring is all about preparation, clearing out old mulch, and adding fertilizer. Summer is the time to keep on top of watering and deal promptly with any pests or diseases that appear, particularly as the weather gets warmer. Come fall, it’s maintenance time: trimming back spent blooms and dead foliage, and perhaps a final light fertilizing to ensure your daylilies are robust enough to face the winter months.
Insider Tricks for Dividing and Replanting Daylilies
Daylilies thrive when they’re not too crowded, so dividing them every few years ensures they stay healthy and blooming brightly. The best time to split and replant these perennials is just after their flowering period when you can clearly see which clumps are ready to be thinned out. Gently lift the clumps, use a sharp knife or spade to separate them, and replant immediately, keeping ample space between new plantings to allow for air circulation and growth.
Common Daylily Problems and How to Fix Them
No gardener wants to face issues in their slice of paradise, but it happens. If your daylilies aren’t blooming, it could be due to insufficient sunlight, over-fertilization, or even overcrowding. Sometimes, a simple relocation or adjustment in care routine can bring them back to life. Yellowing leaves might indicate too much water or poor drainage, calling for adjustments in your watering schedule or soil structure.
Creating Eye-Catching Daylily Displays in Your Garden
Finally, let’s talk aesthetics. Daylilies come in an array of colors and sizes, making them ideal for various garden themes and styles. By mixing different hues and planting in generous drifts, you can create stunning visual impacts. Pair them with other perennials that have similar light and soil needs, such as lavender or Russian sage, to enhance the diversity and attract beneficial pollinators. Layering plants of varying heights and colors not only maximizes your garden space but also ensures a longer blooming season, keeping your garden a feast for the eyes nearly all year round.

