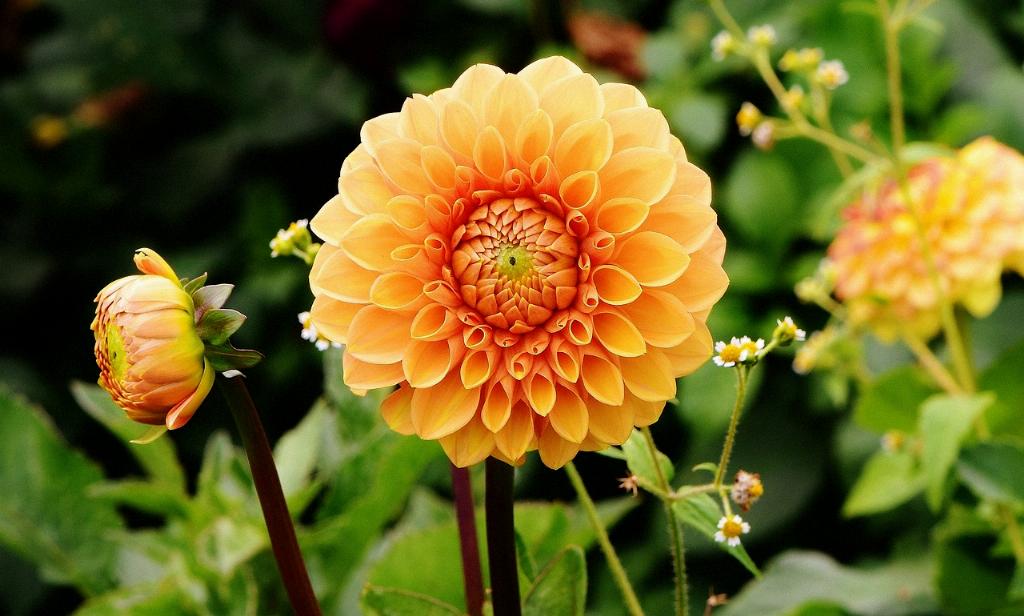
Preserving dahlia tubers is essential to ensure that these beautiful flowers thrive year after year in your garden. To effectively preserve dahlia tubers, it is crucial to follow a few key steps that will help them survive the winter months and emerge strong and healthy when it’s time to plant them again.
Step 1: Properly Digging Up Dahlia Tubers
The first step in preserving dahlia tubers is digging them up carefully once the growing season comes to an end. Use a spade or garden fork to gently lift the tubers from the soil, taking care not to damage them in the process.
Step 2: Cleaning and Drying the Tubers
After digging up the dahlia tubers, it is important to clean off any excess soil clinging to them. Allow the tubers to air dry in a well-ventilated area for a few days to ensure that they are completely free of moisture before storage.
Step 3: Choosing the Right Storage Containers
When it comes to storing dahlia tubers, selecting the appropriate containers is key. Milk crates, plastic bins, paper bags, or cardboard boxes are all suitable options for storing your tubers. Make sure the containers have good air circulation to prevent mold growth.
Step 4: Packing the Tubers
To provide added protection during storage, consider packing the dahlia tubers in peat moss. This will help maintain the right level of moisture and protect the tubers from drying out during the winter months.
Step 5: Choosing a Storage Location
Find a cool, dark spot to store your dahlia tubers during the winter. The ideal temperature range is between 40-50°F (4-10°C). Make sure the storage location is free from any frost or moisture accumulation.
Step 6: Regularly Checking on the Tubers
It is important to periodically check on your stored dahlia tubers throughout the winter months. Look for any signs of mold, rot, or shriveling, and remove any affected tubers to prevent the spread of disease.
Step 7: Monitoring the Temperature
Keep an eye on the temperature of the storage location to ensure it remains within the optimal range for dahlia tuber preservation. Fluctuations in temperature can affect the tubers’ health and viability.
Step 8: Preparing for Spring Planting
As winter comes to an end, start preparing your dahlia tubers for planting in the spring. Begin by inspecting the tubers for any signs of new growth or damage and discard any compromised tubers.
Step 9: Acclimating the Tubers to Light
Before planting your dahlia tubers in the spring, it is essential to acclimate them to light gradually. Place the tubers in a bright location indoors for a few days to allow them to adjust to the light before transferring them outdoors.
Step 10: Planting the Tubers
When the danger of frost has passed, it’s time to plant your preserved dahlia tubers in the garden. Choose a well-draining, sunny spot with rich, fertile soil to ensure the tubers have the best chance of thriving.
Step 11: Caring for Newly Planted Tubers
After planting the dahlia tubers, keep the soil consistently moist but not waterlogged. Provide support for the growing plants as they develop and remove any dead or decaying foliage to encourage healthy growth.
Step 12: Enjoying the Blooms
With proper preservation and care, your dahlia tubers will reward you with a stunning display of blooms throughout the summer months. Sit back, relax, and enjoy the beauty of these vibrant flowers in your garden.

