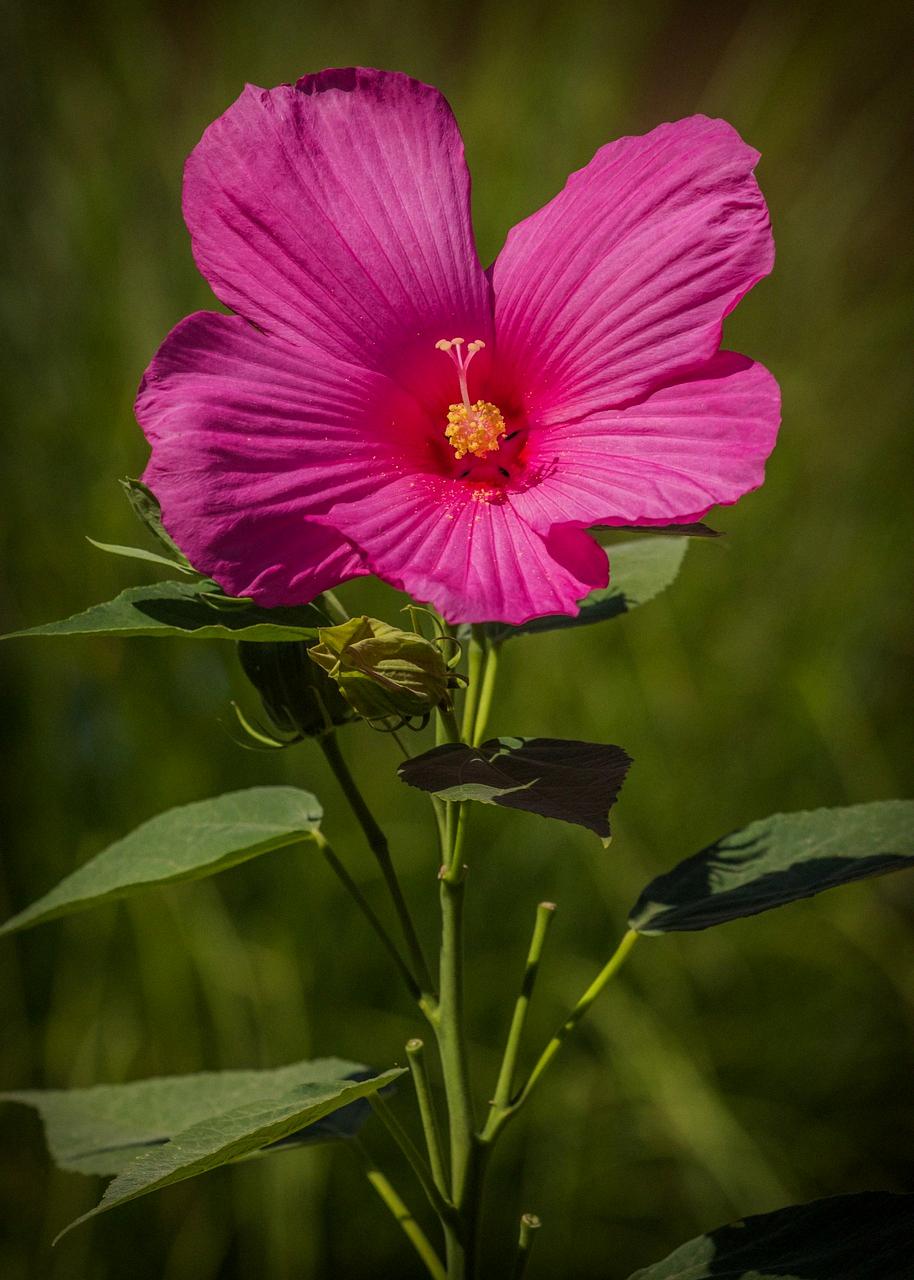
If you’re looking to expand your hibiscus collection or simply want to propagate your favorite hibiscus plant, planting hibiscus from cuttings is a great way to do so. This method is relatively simple, cost-effective, and can yield beautiful new plants. In this guide, we’ll walk you through the steps of successfully planting hibiscus from cuttings.
Step 1: Selecting the Cutting
When choosing a cutting for propagation, look for a healthy hibiscus plant with no signs of disease or pest infestation. Select a stem that is 4-6 inches long and has several leaves. It’s also crucial to take the cutting in the morning when the plant is well-hydrated.
Step 2: Preparing the Cutting
Once you’ve selected the cutting, use a clean, sharp pair of pruning shears to cut it at a 45-degree angle just below a leaf node. Remove the lower leaves, leaving only a couple of leaves at the top of the stem.
Step 3: Planting the Cutting
Plant the cutting in a well-draining potting mix, making sure to bury at least one leaf node beneath the soil. Lightly water the cutting after planting to help settle the soil around it.
Step 4: Creating a Mini Greenhouse
To create a conducive environment for root development, cover the pot with a clear plastic bag or plastic wrap. This will help retain moisture and create a mini greenhouse effect, promoting healthy growth.
Step 5: Providing Adequate Light
Place the pot in a location that receives bright, indirect light. Avoid placing the cutting in direct sunlight, as this can cause excess heat and dehydration. A warm, humid environment is ideal for root development.
Step 6: Monitoring and Watering
Check the cutting regularly for signs of growth and moisture levels. Keep the soil lightly moist but not waterlogged. Over-watering can lead to root rot, so it’s essential to find the right balance.
Step 7: Transplanting the Cutting
After several weeks, you should start to see roots forming. Once the roots are established, you can transplant the cutting into a larger pot or directly into the garden. Be gentle when transferring to avoid damaging the delicate roots.
Step 8: Caring for the New Plant
Continue to provide the new hibiscus plant with adequate sunlight, water, and nutrients. Regular pruning and fertilizing can help encourage healthy growth and vibrant blooms.
Step 9: Overwintering Indoors (Optional)
If you live in a colder climate, consider overwintering your hibiscus plant indoors. Place it in a sunny location and reduce watering during the dormant winter months.
Step 10: Propagating More Cuttings
Once you’ve mastered the art of planting hibiscus from cuttings, you can propagate more plants to expand your hibiscus collection or share with friends and family. It’s a rewarding process that allows you to create beautiful new plants from your existing favorites.
Step 11: Enjoying Your Blooming Hibiscus
With patience and care, your hibiscus cuttings will grow into healthy, blooming plants that bring color and beauty to your garden or indoor space. Sit back, relax, and admire the gorgeous blooms that you’ve successfully propagated.
Step 12: Conclusion
Planting hibiscus from cuttings is a satisfying and cost-effective way to expand your hibiscus collection. By following these steps and providing the necessary care, you can enjoy the fulfillment of watching your cuttings grow into thriving, blooming plants that brighten up your surroundings.

