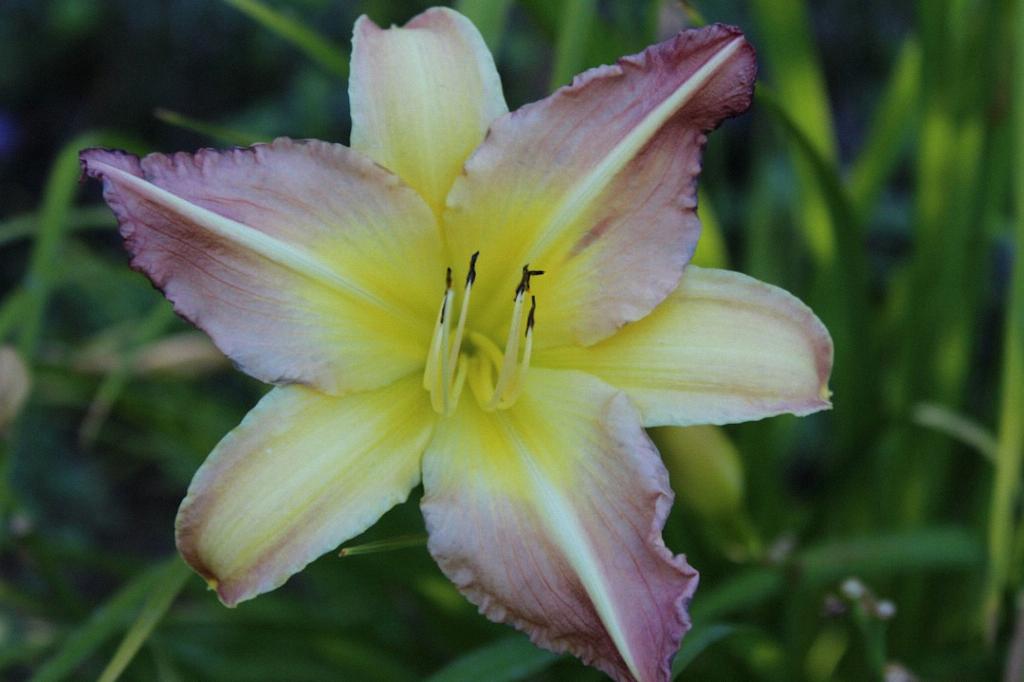
When it comes to planting daylily bulbs, preparation is key to ensuring their successful growth and blooming. One of the first steps in this process is digging a hole slightly larger than the pot in which the daylily is currently growing. This will provide enough space for the roots to spread out and establish themselves in the new soil.
Transplanting Daylilies
Once you have dug the hole, carefully remove the daylily from its pot. Be gentle as you do this to avoid damaging the roots. Once the plant is out of the pot, take the time to loosen the roots, helping them to adapt more easily to their new environment.
Planting Process
Place the daylily into the hole you have prepared and pack the dirt firmly around it. This step is crucial for providing stability to the plant and ensuring that it has enough support to grow tall and healthy. Press down gently on the soil to eliminate any air pockets.
Before Planting
If you are not able to plant the daylily immediately after removing it from the pot, it is important to keep it in a cool place until you are ready to do so. This will prevent the plant from drying out and losing its vitality before being planted in the ground.
Soaking the Roots
In the event that you need to wait several days before planting the daylily, one helpful tip is to soak the roots in water for about an hour before putting the plant in the ground. This will help the roots to rehydrate and prepare them for the planting process.
Post-Planting Care
Once the daylily is securely in the ground, it is important to provide it with proper care to promote healthy growth. Make sure to water the plant regularly, especially during the hot summer months, and keep an eye out for any signs of disease or pests.
Sunlight Requirements
Daylilies thrive in full sun to partial shade, so make sure to plant them in a location where they will receive at least 6 hours of sunlight per day. Too little sunlight can result in poor blooming and weaker plants overall.
Fertilizing Daylilies
Regular fertilization is essential for daylilies to reach their full potential. Use a balanced fertilizer formulated for flowering plants, and apply it according to the manufacturer’s instructions. This will help provide the necessary nutrients for healthy growth and vibrant blooms.
Dividing Daylilies
Over time, daylilies may become overcrowded and need to be divided to maintain their health and vigor. Dividing daylilies is a simple process that involves digging up the entire plant, separating the clumps, and replanting them in new locations with fresh soil.
Deadheading Daylilies
To encourage continuous blooming throughout the season, it is recommended to deadhead daylilies regularly. Simply remove the spent flowers by pinching them off at the base of the stem. This will redirect the plant’s energy into producing new blooms.
Winter Care for Daylilies
During the winter months, daylilies go dormant and require minimal care. Cut back the foliage after the first frost and apply a layer of mulch around the base of the plant to protect the roots from freezing temperatures. This will help ensure that the daylilies emerge healthy and strong in the spring.
Conclusion
Planting daylily bulbs is a rewarding experience that can bring vibrant color and beauty to any garden. By following these planting instructions and providing proper care, you can enjoy the stunning blooms of daylilies year after year.

