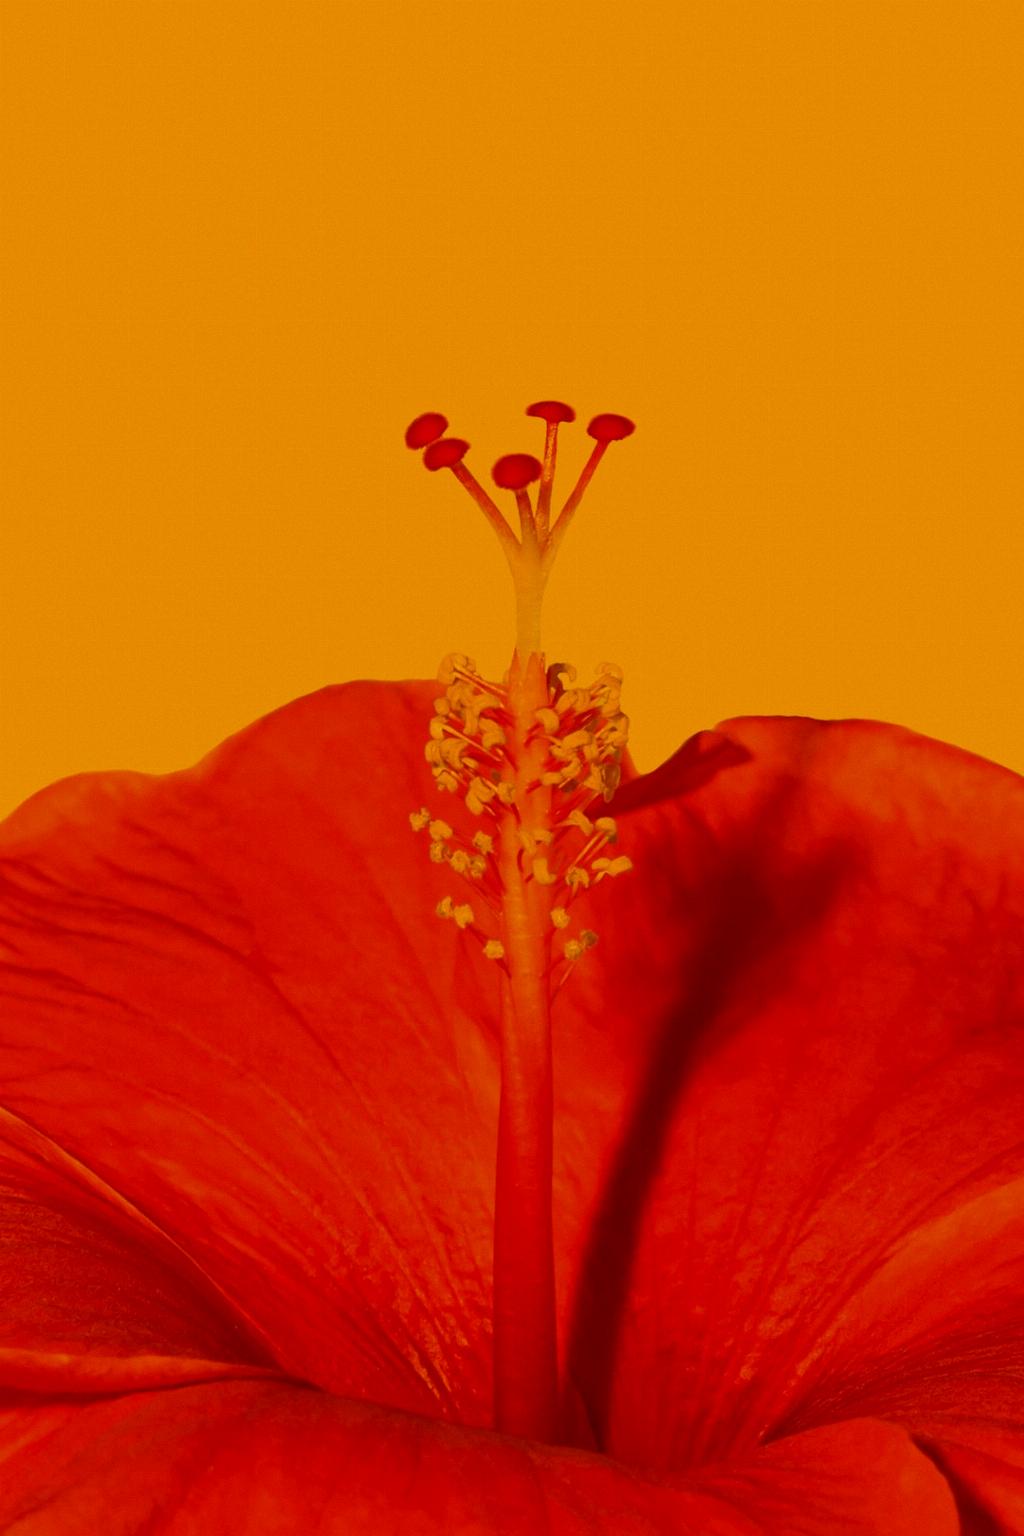
Painting a hibiscus flower can be a joyful and rewarding experience, allowing you to express your creativity in vibrant colors and intricate details. Whether you are a seasoned artist or just starting with oil painting, capturing the essence of a hibiscus flower on canvas can be a fulfilling endeavor.
Understanding the Anatomy of a Hibiscus Flower
Before you begin painting, it is essential to familiarize yourself with the anatomy of a hibiscus flower. The hibiscus flower typically consists of five petals, a central stigma surrounded by stamens, and a pistil. Observing these details will help you create a realistic representation of the flower in your painting.
Gathering the Right Materials
To paint a hibiscus flower, you will need the necessary materials, including oil paints in various colors such as red, yellow, green, and white, a palette, paintbrushes of different sizes, a canvas or painting surface, and a palette knife for mixing colors and creating textures.
Sketching the Outline
Begin by sketching the outline of the hibiscus flower on your canvas using a light pencil. Pay attention to the shape of the petals, the positioning of the stigma and stamens, and the overall composition of the flower. This initial sketch will serve as a guideline for your painting.
Blocking In the Base Colors
Once you have the outline sketched, start by blocking in the base colors of the hibiscus flower. Use a larger brush to apply broad strokes of color, focusing on establishing the overall shape and form of the flower. Consider blending different shades to create depth and dimension.
Adding Details and Highlights
After blocking in the base colors, gradually add details to the hibiscus flower, such as defining the individual petals, adding texture to the stigma and stamens, and enhancing the contrast between light and shadow. Use lighter and darker shades to create highlights and shadows that bring the flower to life.
Working on the Background
While focusing on the hibiscus flower, do not forget about the background of your painting. Consider creating a soft and complementary background that enhances the beauty of the flower without overpowering it. Blur the edges of the background to make the hibiscus flower stand out.
Refining the Composition
As you progress with your painting, step back occasionally to evaluate the overall composition and balance of the artwork. Make any necessary adjustments to ensure harmony between the hibiscus flower and its surroundings, refining the details and colors to achieve a cohesive and visually appealing result.
Adding Finishing Touches
Before finalizing your painting, take the time to add any finishing touches that will elevate the hibiscus flower to a realistic and captivating level. Consider adding subtle details, adjusting color tones, and applying additional highlights to enhance the depth and beauty of the flower.
Embracing Creativity
Remember that painting a hibiscus flower is not merely about replicating its physical appearance but also about infusing your creativity and personal style into the artwork. Feel free to experiment with different techniques, color combinations, and brush strokes to create a unique and expressive painting.

Sharing Your Artwork
Once you have completed painting your hibiscus flower, take pride in your creation and consider sharing it with others. Display your artwork in your home, share it on social media, or even consider entering it into art exhibitions to showcase your talent and creativity to a broader audience.
