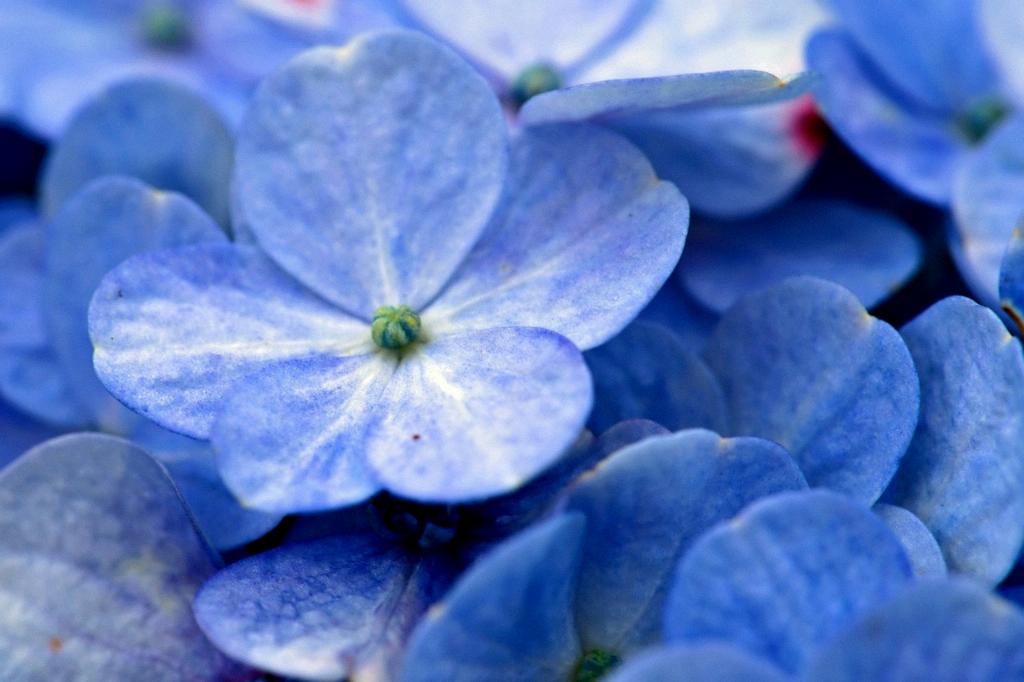
Hydrangeas are not just beautiful in fresh bouquets – they can also be preserved to enjoy their beauty for longer periods by drying them. Dried hydrangeas can be used in a variety of craft projects, wreaths, and home decor. If you’re wondering how to dry hydrangeas successfully, follow these steps for a simple and effective drying process.
1. Allow Flowers to Dry Naturally
The first step in drying hydrangeas is to let the flowers dry naturally on the plants. This process allows them to retain their color and form. Wait until the blooms are mature and feel papery to the touch before cutting for drying.
2. Cut Hydrangeas in the Morning
For optimal results, it’s best to cut hydrangeas for drying in the morning when the flowers are well-hydrated and the temperatures are cooler. Use sharp garden shears to make clean cuts at an angle.
3. Remove Leaves and Submerge Stems
After cutting the hydrangeas, strip off the leaves from the stems. To help preserve the hydrangeas during the drying process, place the stems in a jar filled with water, ensuring that the water covers the stems about halfway.
4. Choose a Suitable Drying Location
Find a cool and dry location to place the jar of hydrangeas for drying. It’s essential to keep the flowers away from direct sunlight or bright light, as this can cause the colors to fade. Check on the hydrangeas periodically to monitor the drying progress.
5. Let the Hydrangeas Dry Completely
Allow the hydrangeas to dry completely in the water-filled jar. Over time, the water will evaporate, leaving behind dried hydrangeas that are ready to be used in various projects. Be patient during the drying process to achieve the best results.
6. Consider Air Drying Hydrangeas
Alternatively, you can air dry hydrangeas by hanging them upside down in a cool, dark, and well-ventilated area. This method may take longer than drying in water but can result in beautifully preserved hydrangeas.
7. Experiment with Different Drying Methods
Don’t be afraid to experiment with different drying techniques to find the method that works best for your hydrangeas. Some people prefer air drying, while others find success with water drying. Try out both methods to see which one yields the results you desire.
8. Use Dried Hydrangeas in Various Projects
Once your hydrangeas are fully dried, you can use them in an array of creative projects. From making dried floral arrangements to crafting wreaths and other decor pieces, dried hydrangeas add a touch of natural beauty to your home.
9. Store Dried Hydrangeas Properly
When not in use, store your dried hydrangeas in a cool, dry place away from sunlight to prevent them from fading or becoming brittle. Proper storage will help maintain the quality of the dried flowers for an extended period.
10. Enjoy the Beauty of Dried Hydrangeas
Whether you choose to display your dried hydrangeas in a vase, incorporate them into a craft project, or use them as part of your home decor, take delight in the lasting beauty and charm that preserved hydrangeas can bring to your living space.
11. Share Your Drying Success Stories
If you’ve successfully dried hydrangeas following these steps, consider sharing your experiences and creations with others. Inspire fellow gardeners and DIY enthusiasts to explore the art of preserving flowers through drying techniques.
12. Embrace the Art of Drying Hydrangeas
Drying hydrangeas is not just a practical way to extend the lifespan of these stunning blooms – it’s also an art form that allows you to capture their beauty in a new and lasting way. Embrace the process of drying hydrangeas and revel in the joy of creating something beautiful from nature’s gifts.

