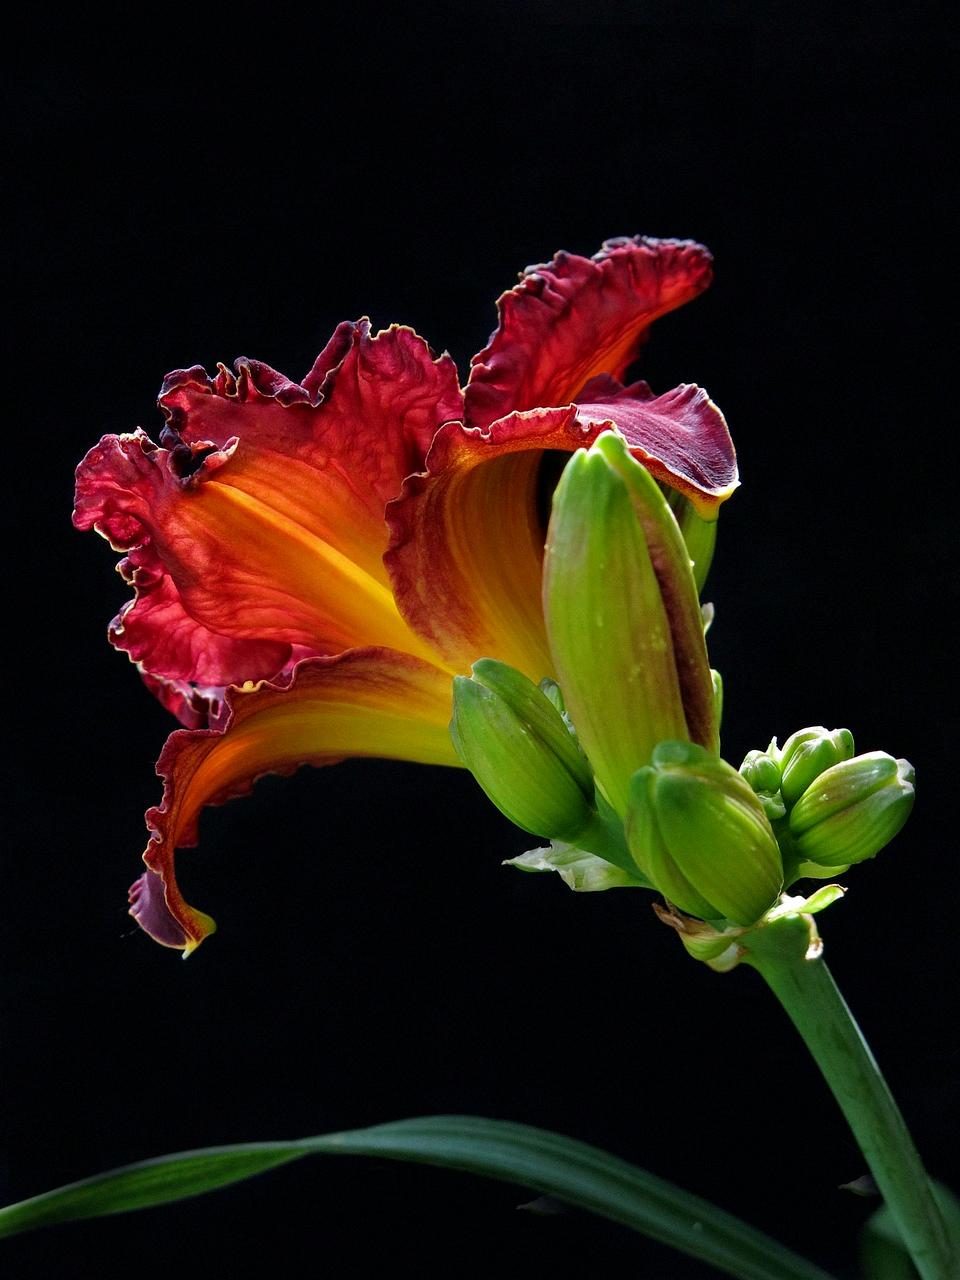
Dividing daylilies is a simple but rewarding task that can help rejuvenate your garden and increase the number of plants in your collection. The process involves separating the clumps of daylilies into smaller sections, allowing each new division to grow and thrive independently. Here are some easy steps to guide you through the daylily division process.
Prepare The Daylilies For Division
Start by trimming off the tops of the foliage with pruning shears. This will help reduce stress on the plant during the division process. Next, dig up the root ball under a clump of daylilies. Carefully loosen the soil around the roots to make it easier to separate the clumps.
Separate The Root Ball
Once you have dug up the root ball, flip it over, and use a spade to divide it into 6-8 inch clumps. Make sure each division has a good amount of roots attached to ensure successful growth. You may gently tease apart the roots if they are tightly intertwined.
Replant The Divisions
If the division method yields enough new plants for your garden, you can simply re-plant the clumps about two feet apart. Choose a sunny or partially shaded location with well-draining soil for optimal growth. Water the newly planted divisions thoroughly to help them establish in their new environment.
Divide Daylilies During The Right Season
It is best to divide daylilies in early spring or late summer when the plants are not actively blooming. This allows the divisions to focus on establishing roots and foliage without the added stress of flowering. Cooler temperatures also help prevent transplant shock.
Caring For Divided Daylilies
After dividing your daylilies, monitor the soil moisture levels regularly to ensure the divisions do not dry out. Water deeply when necessary, especially during hot and dry periods. Apply a balanced fertilizer to help promote healthy growth and blooming.
Watch For Signs Of Growth
Keep an eye on the divided daylilies for signs of new growth, such as emerging foliage or flower buds. This indicates that the divisions have successfully adapted to their new surroundings and are ready to flourish. Be patient and allow the plants time to settle in.
Monitor For Pests and Diseases
Regularly inspect the divided daylilies for any signs of pests or diseases. Look out for common issues such as aphids, spider mites, or fungal infections. Treat any problems promptly to prevent them from spreading to other plants in your garden.
Consider Division Maintenance
As your daylilies continue to grow and multiply, you may need to divide them again in the future to prevent overcrowding. Regular division helps maintain the health and vigor of the plants and ensures they have enough space to thrive.
Share Your Divided Daylilies
If you end up with more divided daylilies than you can plant, consider sharing them with friends, family, or fellow gardening enthusiasts. It’s a great way to spread the beauty of daylilies and introduce others to the joy of gardening.
Final Thoughts
Dividing daylilies is a simple and beneficial practice that can rejuvenate your garden and expand your plant collection. By following these easy steps and caring for the divided divisions, you can enjoy a flourishing display of daylilies in your outdoor space. Remember to divide your daylilies during the right season, provide proper care, and watch for signs of growth to ensure a successful division process.

