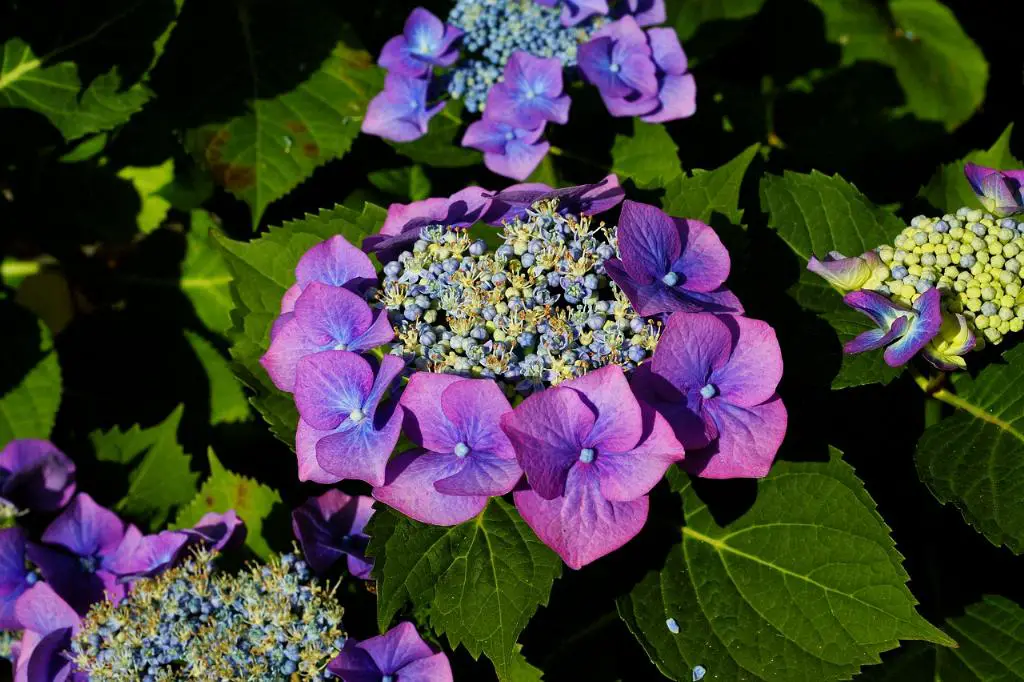
Transplanting hydrangeas can be a simple yet fulfilling task. Whether you are looking to move your hydrangea plants to a new location in your garden or need to relocate them to a pot or container, following the right steps is crucial to ensure their successful growth and development. In this guide, we will explore the process of transplanting hydrangeas in seven easy steps.
Step 1: Transplant at the Right Time
Timing is key when it comes to transplanting hydrangeas. It is best to plan the transplant before the ground freezes over, typically in the fall. This timing allows the plants to establish their roots in the new location before the harsh winter weather sets in.
Step 2: Find a New Home
When selecting a new location for your hydrangeas, consider a spot that receives partial shade. Hydrangeas thrive in areas with dappled sunlight or morning sun and afternoon shade. Avoid areas that receive full sun, as this can cause the plants to wilt and struggle to thrive.
Step 3: Dig Carefully
Before transplanting, carefully dig around the base of the hydrangea plant to loosen the roots. Take care not to damage the roots during this process, as healthy roots are essential for the plant’s survival and growth in its new environment.
Step 4: Plant Right
When planting your hydrangea in the new location, ensure that the hole is large enough to accommodate the root ball comfortably. Position the plant at the same depth it was previously growing, making sure not to bury the stem deeper than before.
Step 5: Give Them a Drink
After transplanting, hydrangeas require ample watering to help them adjust to their new surroundings. Provide the plants with a deep watering immediately after transplanting, and continue to water regularly to keep the soil moist but not waterlogged.
Step 6: Watch Closely
Monitor your transplanted hydrangeas closely in the weeks following the transplant. Keep an eye out for any signs of stress, such as wilting or yellowing leaves. Address any issues promptly to give your plants the best chance of thriving in their new home.
Step 7: Mulch
Applying a layer of mulch around the base of the transplanted hydrangea can help retain moisture in the soil and regulate temperature. Mulch also helps suppress weeds and improves the overall health of the plant, ensuring a successful transplant.
By following these seven steps, you can successfully transplant your hydrangeas and create a thriving garden filled with beautiful blooms. Remember to transplant at the right time, choose a suitable location, handle the roots with care, plant correctly, provide ample water, monitor closely, and mulch to ensure the health and vitality of your hydrangea plants.

