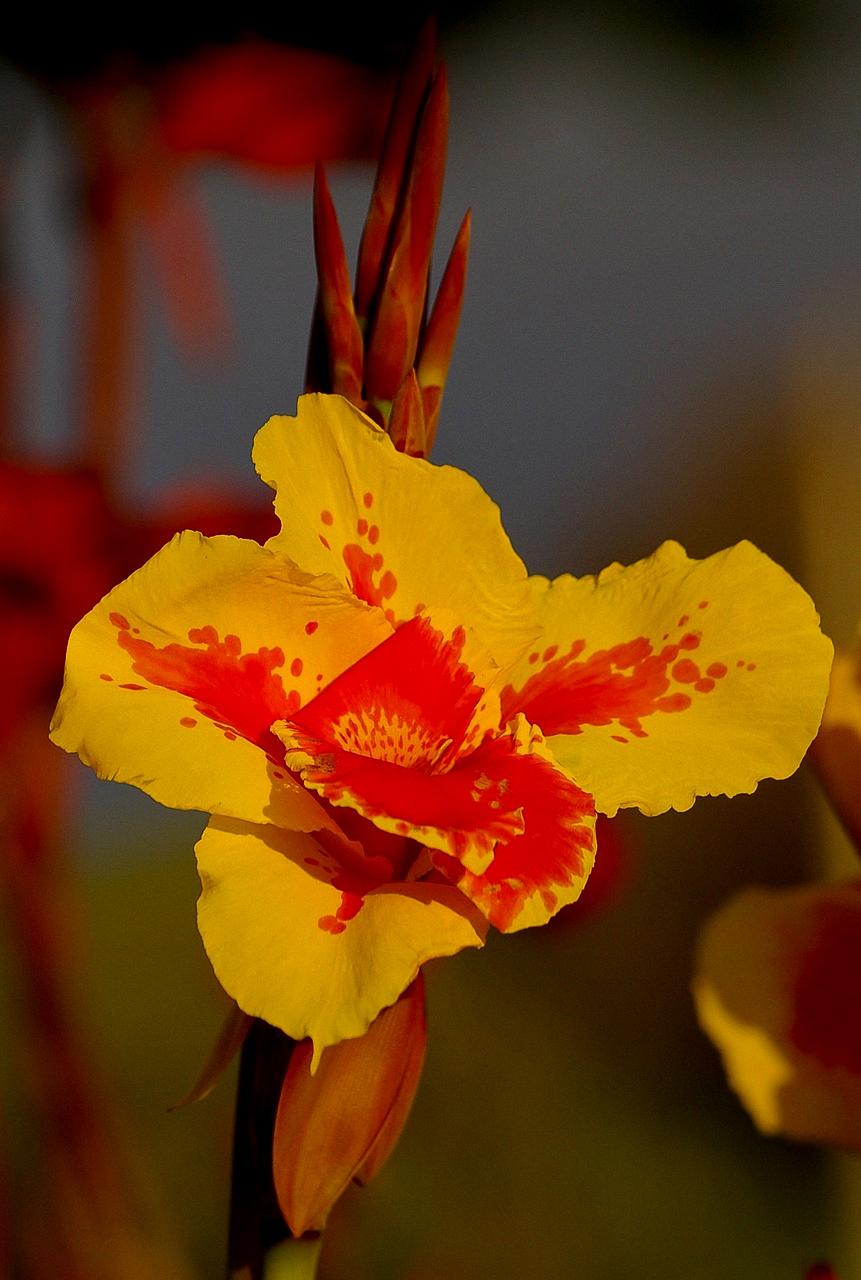
When it comes to planting canna bulbs, it’s essential to follow the right steps to ensure the proper growth and development of these beautiful flowering plants. With a few key considerations in mind, you can easily plant canna bulbs in your garden and enjoy their vibrant blooms in no time.
Choosing the Right Location
Before planting your canna bulbs, it’s important to select a suitable location that receives plenty of sunlight and has well-draining soil. Canna plants thrive in full sun and require soil that is rich in nutrients for optimal growth.
Preparing the Soil
Prepare the soil by digging holes that are about three to four inches deep. Ensure that the soil is loose and well-aerated to allow for proper root development. It’s also a good idea to add organic matter such as compost to enrich the soil and provide essential nutrients for the canna bulbs.
Planting the Bulbs
When planting the canna bulbs, place them about two inches deep into the soil, making sure they are positioned with the growing tips facing up. Space the bulbs at least eight inches apart to allow room for the plants to spread out as they grow.
Watering and Care
After planting the canna bulbs, water them thoroughly to help settle the soil and encourage root establishment. Keep the soil consistently moist but not waterlogged to prevent rotting. Ensure that the plants receive adequate water, especially during hot weather.
Providing Support
As the canna plants grow taller, they may require support to prevent them from falling over. You can use stakes or cages to help support the plants and keep them upright. Be sure to place the support structures in the ground early to avoid damaging the roots.
Fertilizing
It’s essential to fertilize canna plants regularly to promote healthy growth and vibrant blooms. Use a balanced fertilizer that is rich in nitrogen, phosphorus, and potassium to provide the necessary nutrients for the plants. Follow the instructions on the fertilizer package for the best results.
Mulching
Applying a layer of mulch around the base of the canna plants can help retain moisture, suppress weeds, and regulate soil temperature. Use organic mulch such as shredded bark or compost and apply it evenly around the plants, leaving some space around the stems to prevent rotting.
Pruning and Deadheading
Regular pruning and deadheading can help promote continuous blooming and maintain the overall health of the canna plants. Remove any dead or damaged foliage and flowers to encourage new growth and prevent the spread of diseases.
Pest and Disease Control
Keep an eye out for common pests such as aphids and spider mites that can infest canna plants. Regularly inspect the plants for signs of pest damage and treat them promptly with insecticidal soap or neem oil. In case of fungal diseases, ensure good air circulation and avoid overhead watering to prevent infection.
Overwintering
In regions where winters are cold, it’s important to overwinter canna bulbs properly to ensure their survival. Dig up the bulbs before the first frost, remove the foliage, and allow them to dry in a cool, dry place. Store the bulbs in peat moss or vermiculite in a frost-free location until the next planting season.
Enjoying the Blooms
With proper care and maintenance, your canna plants will reward you with stunning blooms in a variety of colors and shapes. Sit back, relax, and enjoy the beauty of these vibrant flowers as they brighten up your garden and bring joy to your outdoor space.

